Expand your green space by planting your very own peach tree following this detailed tutorial.
There’s something about eating fresh, ripe fruit that makes us want to plant the seeds in our yard and grow our own trees. Many fruits are easy to grow from seed, just think about those watermelons growing out of the compost pile! Among fruit trees, peaches (as well as nectarines and apricots) are
Perfect choices for cultivation from seeds include starting a peach tree from a pit, which is cost-free and allows young saplings to flourish rapidly, ideal for novice gardeners. Employing correct planting methods is crucial for ensuring healthy seedling development and robust tree growth. Here we've included all necessary information to help you cultivate tasty peaches right from their seeds.
Gathering Peach Seeds
Although commercial peaches are typically produced through grafting, peaches tend to come true from seed. This means the fruit from the seedling will closely resemble that of the parent plant in flavor and other characteristics. As such, trees grown from seed provide a reliable and affordable (free) option for backyard growers. Collect seeds only from fully ripe peaches. For the best results, purchase fruits from local growers at a farm stand or farmer’s market. Locally grown peaches are more likely to be adapted to your regional climate than those purchased at the grocery store.
It is important to plant peaches that are well adapted to your region. All peaches require a certain period of cold temperatures during the winter months to ensure proper leaf and flower bud development the following spring. This is called a chilling requirement and is measured as the
accumulated hours at or below 45 °F. In coastal areas and other warm locations, it is necessary to select peach varieties with very low chilling requirements. Using peach seeds from fruits grown by local producers is a good way of ensuring you are using a peach variety adapted to local conditions.
Taste several different peach varieties to find your favorite(s). Peaches are self-fruitful, so you only need to plant a single tree or single variety to produce fruit. After eating the peaches, clean the pits using a brush and water, then let the pits dry on your countertop for several days. This will make it easier to crack the pits and remove the seed from inside (optional) and reduces the chances of fungal development on any pits you plant directly in the garden.
Optional Step: Cracking The Seed
Although you can plant peach pits whole, seed germination will be higher if you remove the seeds from the pits. It is also best to remove peach seeds from their pits if you will be stratifying seeds in the refrigerator, as described below. Take care when cracking the pits open to avoid damaging the seed (or embryo) inside.
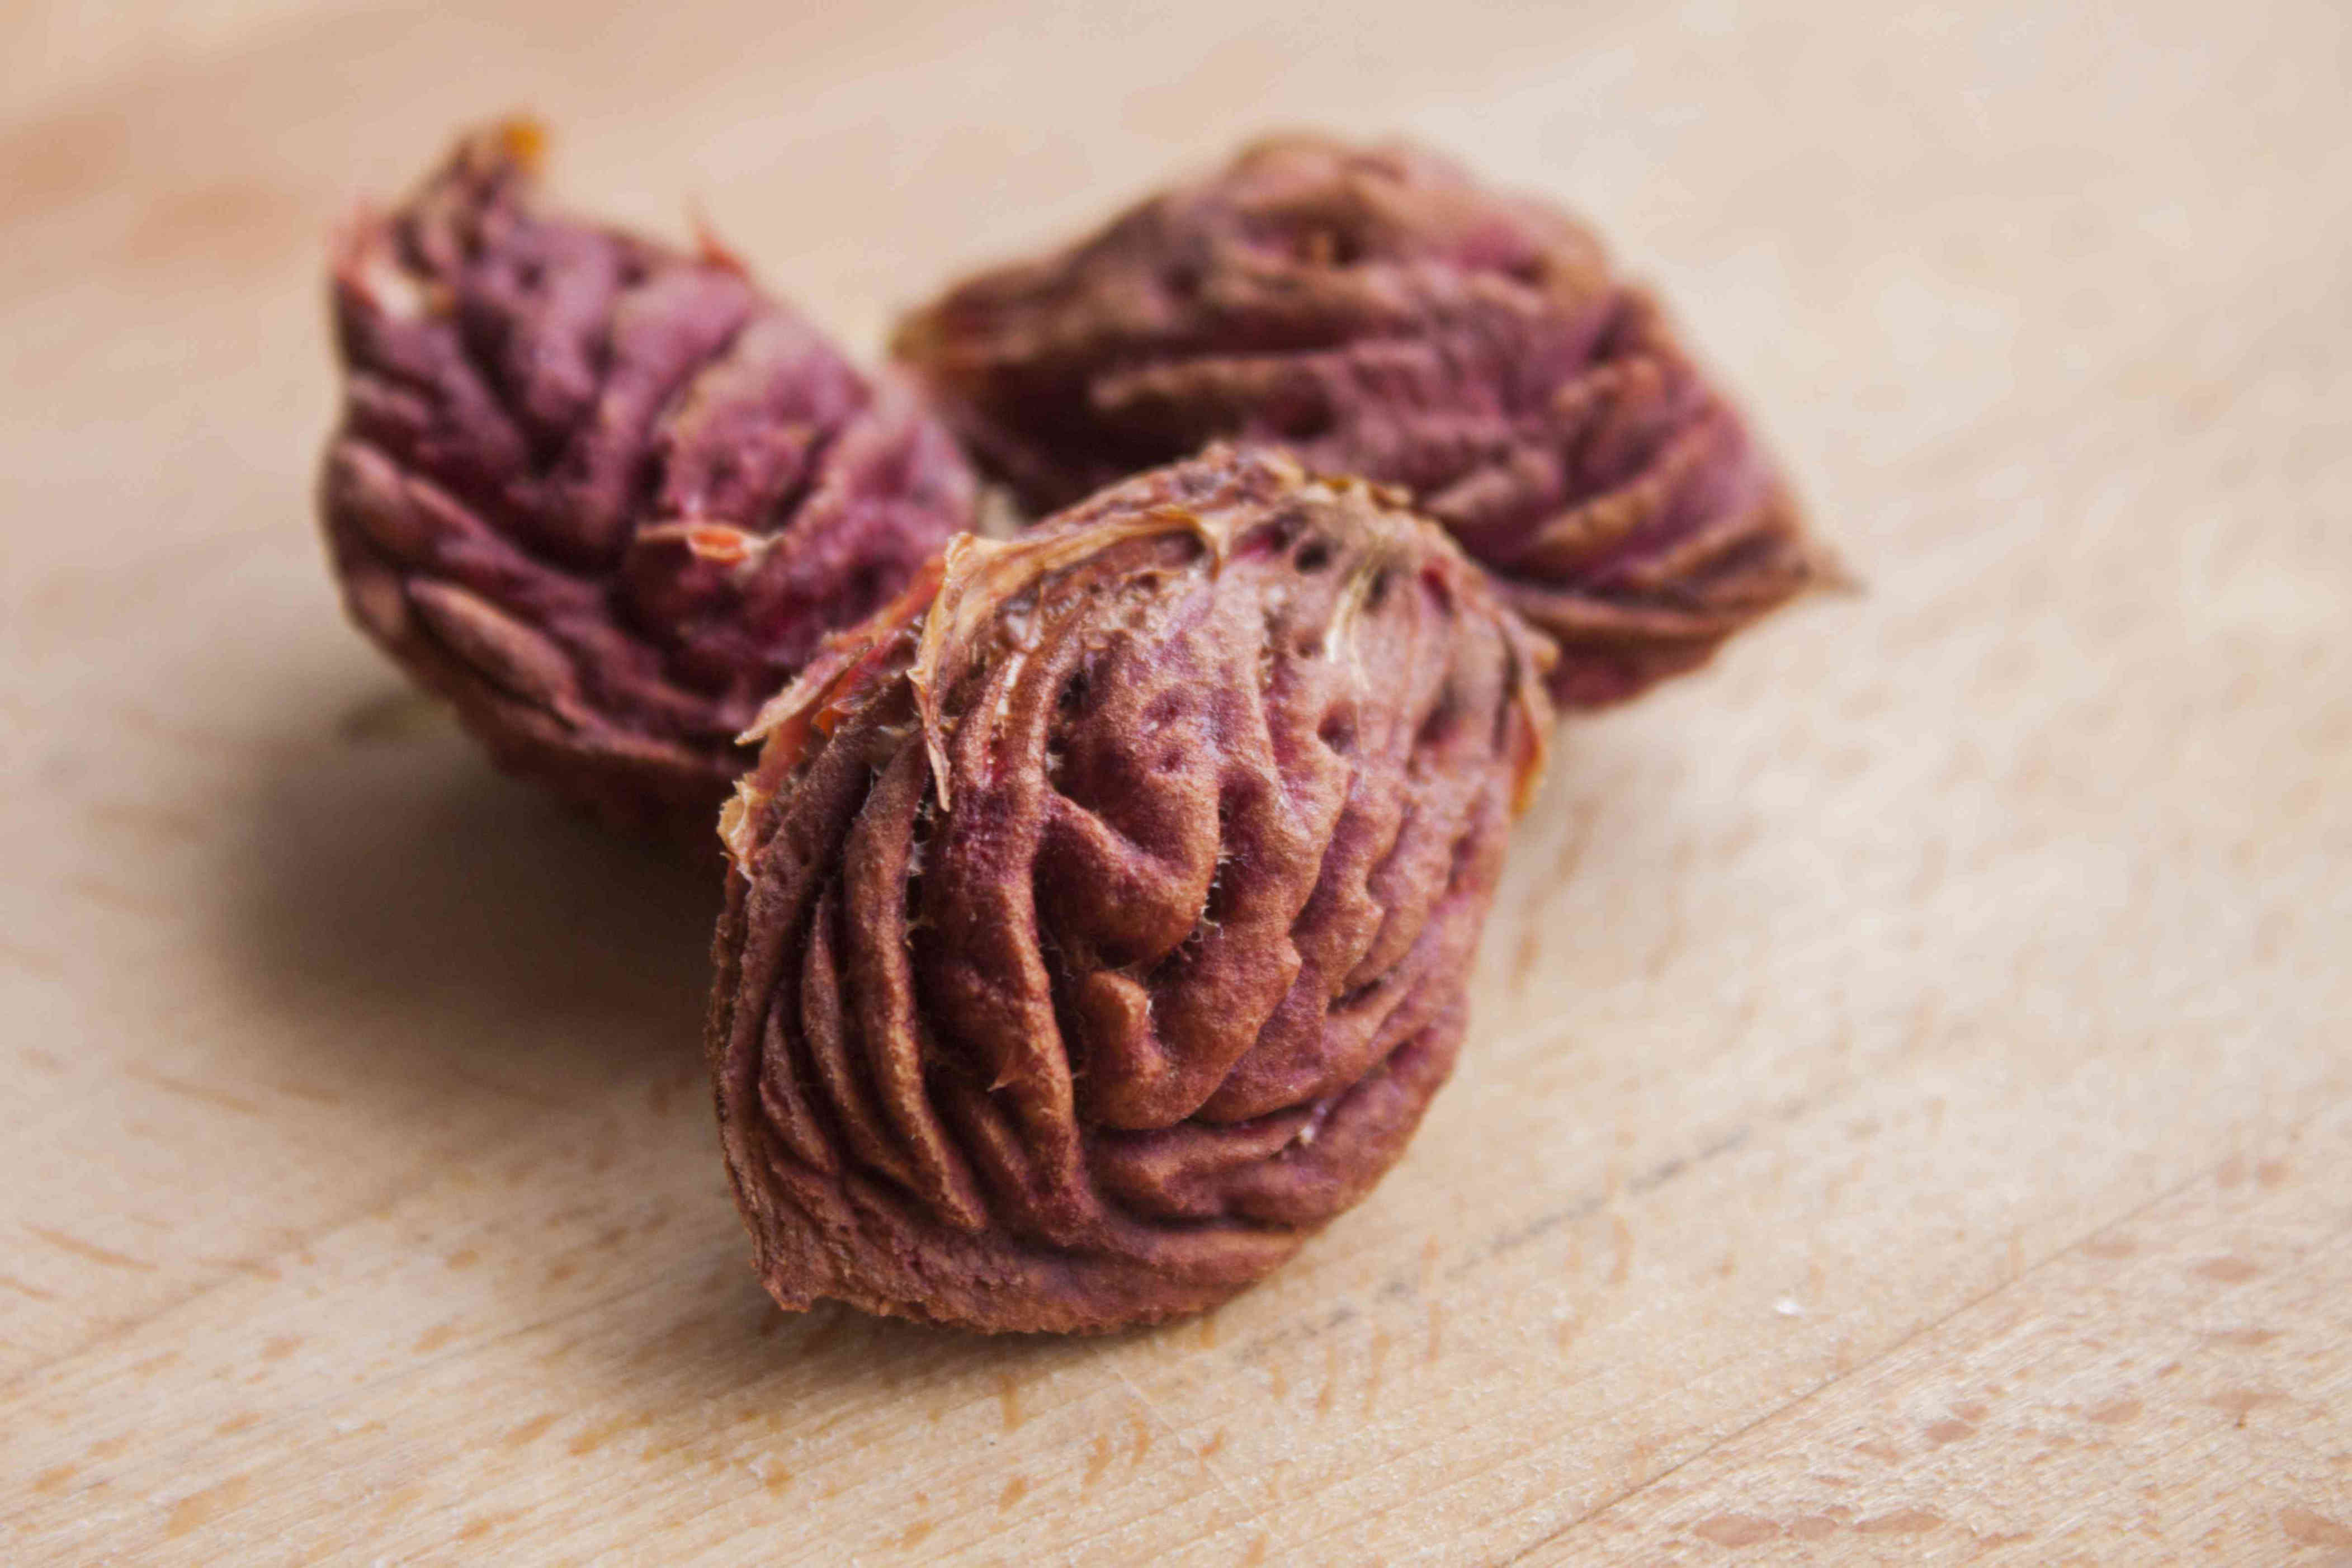
To open peach pits, use a nutcracker, vice, or screw clamp to apply gentle pressure along the seams. The seed inside resembles an almond (a close relative) in shape and color. Discard any damaged seeds and those showing signs of disease, such as discoloration or fuzzy growth. Also discard any
shriveled, darkened seeds. Store seeds in an airtight container in a cool location, such as the refrigerator, until you are ready to begin germination.
Preparing Peach Seeds
Like many seeds, peach seeds require a period of cold treatment, called stratification, to germinate properly. This cold period causes natural germination inhibitors to break down. This is an adaptation to ensure that seeds sprout at the proper time of year, in spring, and not during the winter months. If you live in a cool climate, seeds can be started outdoors and will naturally experience the cold period required for germination. However, if you live in a warm climate, you will need to provide this period of cold stratification in your refrigerator.
Peach seeds require a cold stratification period of one to three months at temperatures between 32 and 45˚F. To germinate seeds in time for spring planting, begin stratifying seeds about four months prior to your average last frost date in spring. Remove seeds from their pits for indoor stratification.
To stratify seeds indoors:
Soak seeds overnight in room temperature water.
Place seeds in a lidded container filled with slightly moist potting media. Do not make the media too wet as it will promote mold.
Close the container and store it in the refrigerator. Keep seeds away from apples and other fruits. Do not allow the seeds to freeze.
Check seeds regularly beginning about one month after starting stratification. In time, you will see thick white roots begin to emerge.
Keep sprouted seeds in the refrigerator until ready to plant outdoors. The best time to plant sprouted peach seeds outdoors is about one month prior to your last frost date.
Planting The Peach Seed
Gardeners in locations experiencing cold winters can plant peach seeds directly in the ground or start them in outdoor containers in autumn (September to November, depending on location). If starting seeds in the ground, plant them where you want the tree to grow, allowing 15 to 20 feet
between trees. You may wish to plant 2-3 seeds per location, removing all but the strongest sapling once plants initiate growth in spring.
Select a planting site with full sun and well-draining soil. Prepare a planting bed at least 5 to 6 feet (preferably 10) in diameter by cultivating to a depth of 10 to 12 inches and incorporating organic matter such as compost. Conduct a soil test and adjust nutrients and pH accordingly. Peaches perform best in soils with a pH around 6.5.
To start seeds in outdoor containers, select a container with good drainage that is about 12 inches deep. Peat pots, paper pots, milk cartons, and other disposable materials make a great potting container as they can be cut away from the root ball without damaging roots. Bury containers in
the ground so that the soil surface is even with the surrounding soil. This helps to keep the soil and seed insulated over the winter.
Follow these steps for planting peach seeds:
Plant seeds twice as deep as their length–about 3 inches deep–in containers or well-draining garden soil.
Pack soil gently around the seed and water until moist, but not soggy.
Apply several inches of mulch to insulate seeds and maintain soil moisture.
Protect seeds from squirrels and other critters by covering the containers or planting bed with a wire cage or hardware cloth, extending the cage several inches into the soil.
Water throughout winter only when the soil has completely dried.
Transplant container-grown seedlings into the garden when they reach a height of 12 inches.
Peach seeds stratified in the refrigerator can be planted in the garden about one month before the final frost date using these same planting steps.
Caring For Peach Seedlings
Peach saplings grow quickly and can yield fruit in just three to five years. Choose a location where they receive a minimum of six hours of sunlight each day without being obstructed by tall structures or large trees. Since flower buds on peaches are vulnerable to frost during springtime, find an elevated spot so that cool night air flows downward easily. Ensure the area you select has well-draining soil; peach trees cannot handle waterlogged ground. The best types of earth include sandy and loamy compositions.
During the initial growth phase when peach trees are still saplings, consistent watering is essential. Keep track of natural precipitation levels and offer additional water whenever necessary so that the plant receives approximately an inch of water each week. Ensure deep soaking to fully saturate the roots beneath the surface. Surrounding the trunk within a radius of three feet, spread a layer of mulch measuring around three inches thick. This practice aids in retaining soil dampness and curbs weed development which can otherwise vie with young trees for vital resources like water and nourishment.
In many areas of the South, soil pH needs to be adjusted to provide ideal conditions for peach trees. Many gardeners will need to lime soil to raise the pH to around 6.5. Amend soil pH prior to planting and conduct a soil test every two to three years, adding additional amendments as needed. Fertilize new plantings with ½ pound of balanced (10-10-10) fertilizer one week after planting, keeping fertilizer 8 to 12 inches away from the trunk. Apply the same amount again 5 weeks later. In subsequent years, make fertilizer applications in March and May, increasing the amount to ¾ pounds in the second and third year, and one pound in years four and beyond.
Peaches are susceptible to several insect and disease pests. Commercial growers spray plants every seven to ten days beginning at bloom and lasting through harvest. Home gardeners can also use a spray program to manage pests, but many backyard growers do not like using pesticides in the landscape. Spray programs targeting fungi and plum curculio insects are most critical to producing a good harvest. An alternative is bagging individual fruits with a mesh bag to protect them, certainly a labor-intensive strategy. Other management strategies include proper sanitation. Dispose of any fruits or branches showing signs of disease in the trash, and do not let fallen fruits remain in the garden.
Related: Ways to Identify a Ripened Peach
Trimming and Reducing Peach Trees
Peach trees grow extensive thick leaves that block light from reaching the inner branches. To ensure the young fruits receive enough sun exposure, peach trees are typically trimmed into an open-center form. This process involves shortening the main stem’s top growth (referred to as the central leader) during the initial pruning session in late winter.
Planting and carefully pruning lateral branches is essential. Aim to keep only three or four sturdy branches distributed uniformly around the main stem; these will form the tree’s supporting limbs. Choose the most robust branches for this role. Ensure that the bottom limb sits approximately 18 inches from the ground, followed by each successive support limb at intervals of roughly six inches. Eliminate any additional secondary shoots and trim the leading shoot so that it ends slightly above the highest scaffold branch.
A healthy, properly cared-for peach tree frequently yields an abundance of fruit, sometimes producing so much that its branches may snap under the load. In certain years, it becomes essential to thin out the growing fruit. This process can be carried out manually or, when dealing with larger trees, accomplished by gently tapping the branches.
Using a pole, thin the fruits approximately four weeks post-full bloom, ensuring only one peach remains every six inches. This practice ensures that the leftover fruit grows bigger and tastes better compared to unthinned tree produce.
Frequently Asked Questions
Is it possible to sow a peach pit directly into the soil?
Certainly, if your area experiences adequately chilly winters, you can sow peach seeds directly into the soil outdoors.
How long does it typically take for a peach pit to sprout?
Peach seeds need a chilling time ranging from one to three months, varying by type, to overcome their dormant state and sprout.
Do you need to break the peach pit before sowing it?
Although it’s not essential to break open peach pits prior to planting, doing so and extracting the seeds can enhance the chances of successful sprouting.
What are the optimal growth requirements for peach saplings?
Peach saplings flourish in sunny locations with soil that drains well. Proper drainage is essential because the roots can easily develop root rot.
How frequently do I need to water my peach sapling?
Water the peach saplings every seven to ten days unless at least one inch of rain has occurred adequately.
Related: Ways to Store Tomato Seeds for Planting Next Year
To stay updated with more Southern Living news, be sure to subscribe to our newsletter!
Read the initial article on Southern Living .