Showing posts with label gardening. Show all posts

How to Grow Luscious Passionfruit in Your Australian Garden


categories: , , ,

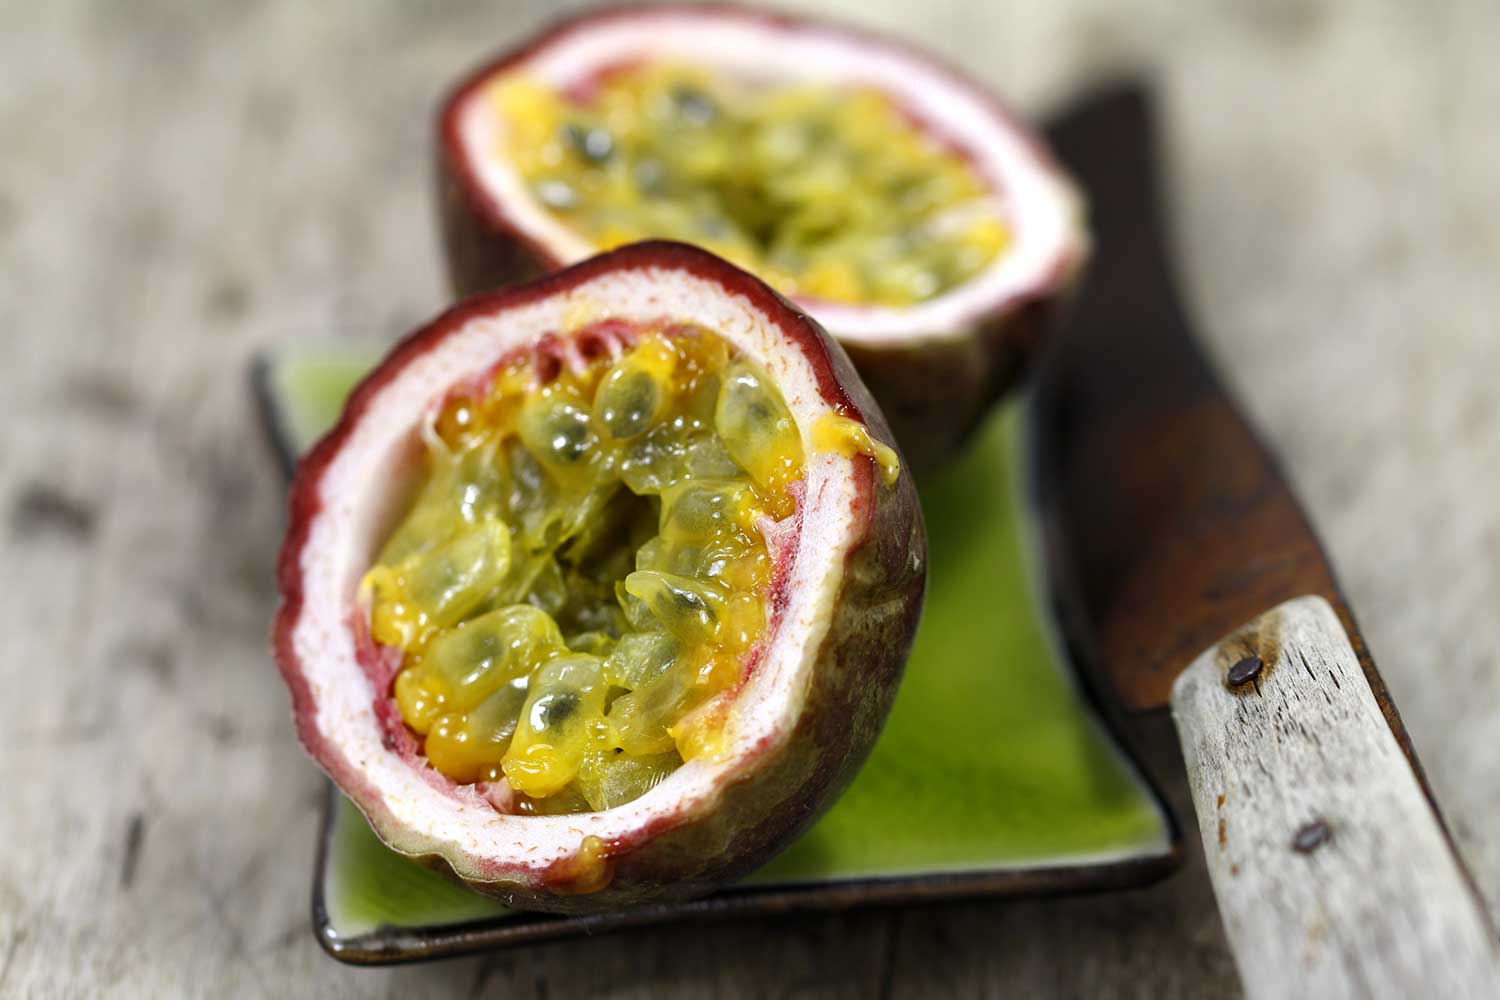
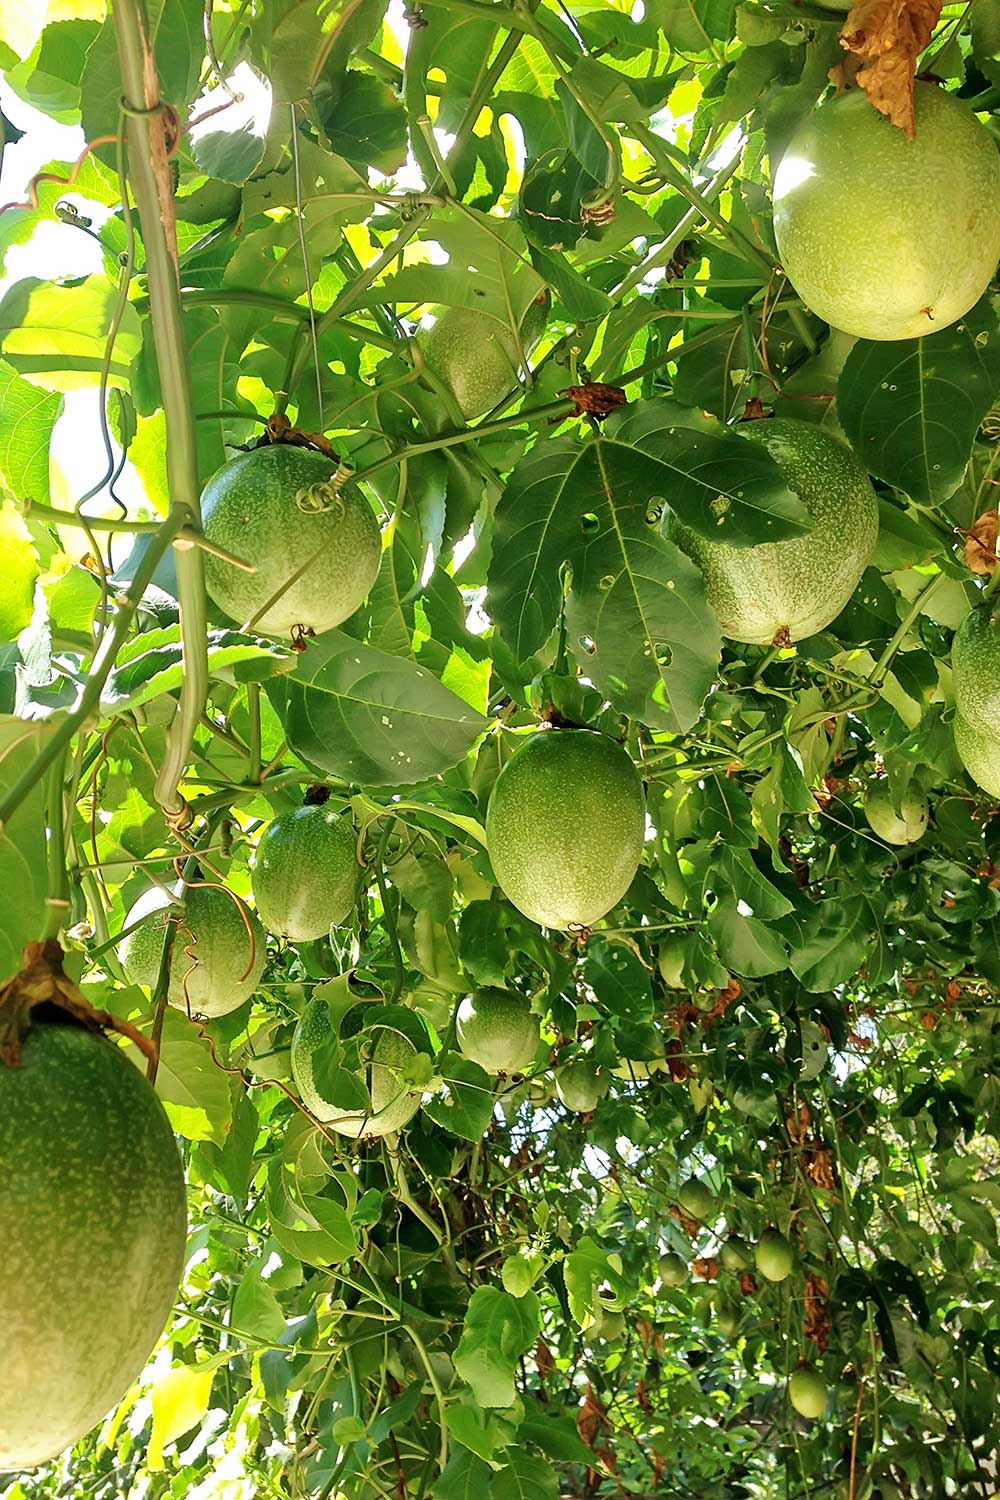
Passionfruit vines are fantastic plants to cultivate in any garden. They not only yield incredibly delicious fruits but also add beauty with their lush foliage. delicious fruit Additionally, their vines can act as an attractive cover-up for ugly walls and fences.

Here’s how you can cultivate passionfruit vines in your own backyard along with crucial tips for maintaining their health.

Passionfruit varieties

There are over 50 varieties of passionfruit Varieties of vines include Banana, Hawaiian, Norfolk Island, Yellow Giant, Panama Gold, Panama Red, and Nellie Kelly.

Different cultivars vary when it comes to their ability to tolerate cold, so make sure to read the label carefully prior to purchasing. You'll often see the Nellie Kelly variety in Australian gardens; this particular cultivar has been developed to endure lower temperatures. resist pests and diseases In more tropical areas, Panama hats are commonly worn. Thanks to their ability to withstand moist conditions.

Ways to Look After Passionfruit Plants

Climate

Passionfruit Vines are adaptable yet thrive most effectively in subtropical and temperate environments, particularly with shelter from frost during their early stages.

Aspect

Place your passionfruit vine in direct sunlight and shield it from strong gusts. For regions with cooler temperatures, select an area near a northern-exposed wall to take advantage of the warmth radiating from it.

Passionfruit vines develop vast root networks; thus, select an area with ample room for planting, clear of weeds, rivaling vegetation, and lawn. Additionally, they may extend over a span of up to 10 square meters, hence opt for or construct a support system capable of handling their growth.

Passionfruit vines can also be taught to trail alongside your fence, whether it’s made of wood or wire trellis , or above an arbor. Simply attach some wires or mesh for its tendrils to cling to.

Soil

The ideal soil for passionfruit vines should be abundant in organic material, have good drainage, and maintain a pH level between 5.5 and 6.5.

At what time should you sow your passionfruit?

The ideal season for planting a passionfruit vine is spring. Prior to planting, get your soil ready by mixing in compost and chicken manure across an area measuring about one to two meters wide. Excavate a hole that is double the width and depth of the root ball, carefully loosen the roots, place the vine into the hole, and then thoroughly water it. Mulch Around the bottom with sugarcane, bark chips, or pea straw, just make sure not to pile it up near the stem.

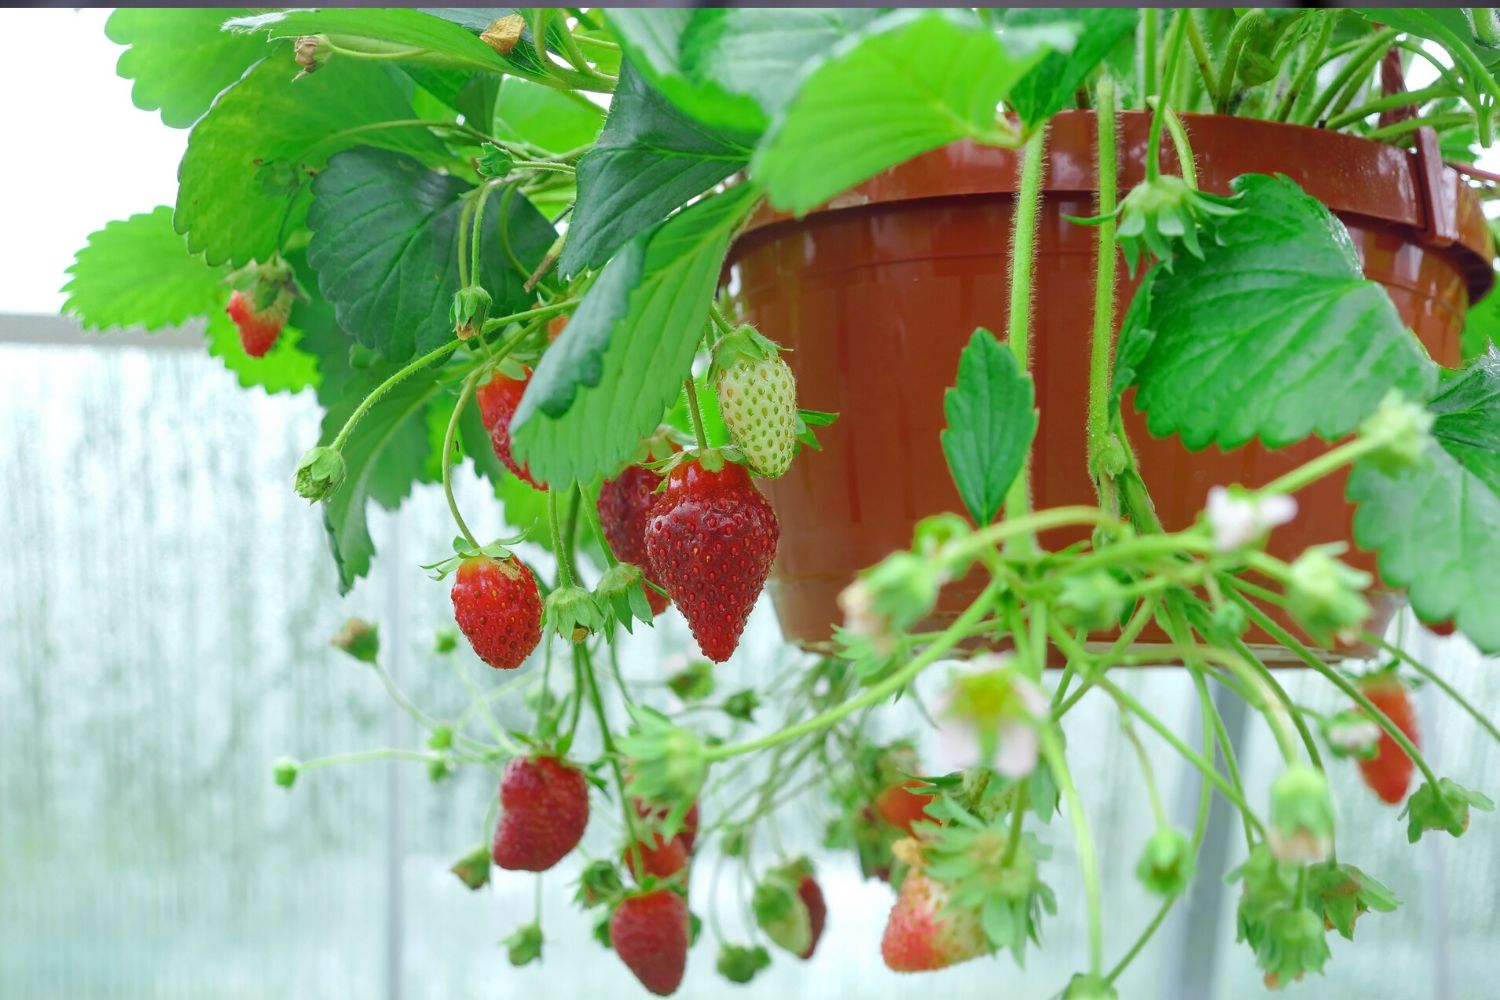
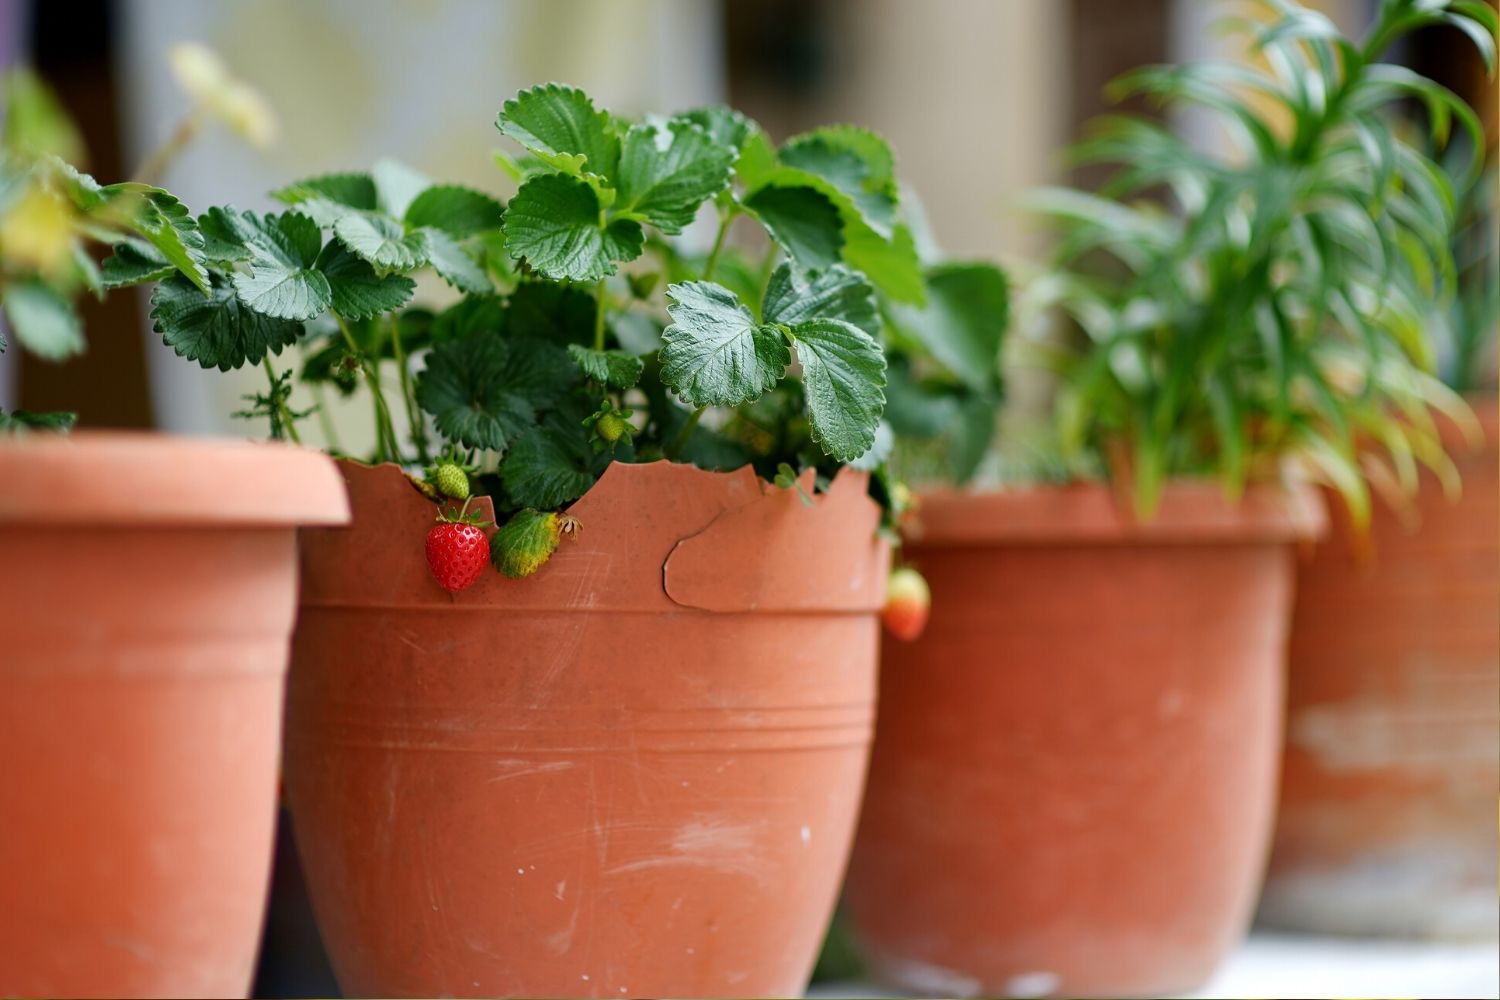
Passionfruit plants can similarly thrive when cultivated in big containers provided they're equipped with proper supporting frameworks.

Watering

Young passionfruit vines need consistent hydration, particularly during their blooming and fruit-bearing stages. Aim to water them thoroughly a few times each week, adjusting based on prevailing weather and climatic factors.

Make sure to distribute your watering across the whole root system instead of solely focusing on the area near the vine's stem.

Fertilising

Water your passionfruit vine with diluted citrus fertilizer or apply chicken manure two times annually, during spring and fall. Make sure you spread the fertiliser Throughout the whole root system. Steer clear of excessive feeding or applying fertilizers with high levels of nitrogen, as this can promote foliage development instead of blossoms and fruit.

The optimal time for picking passionfruit

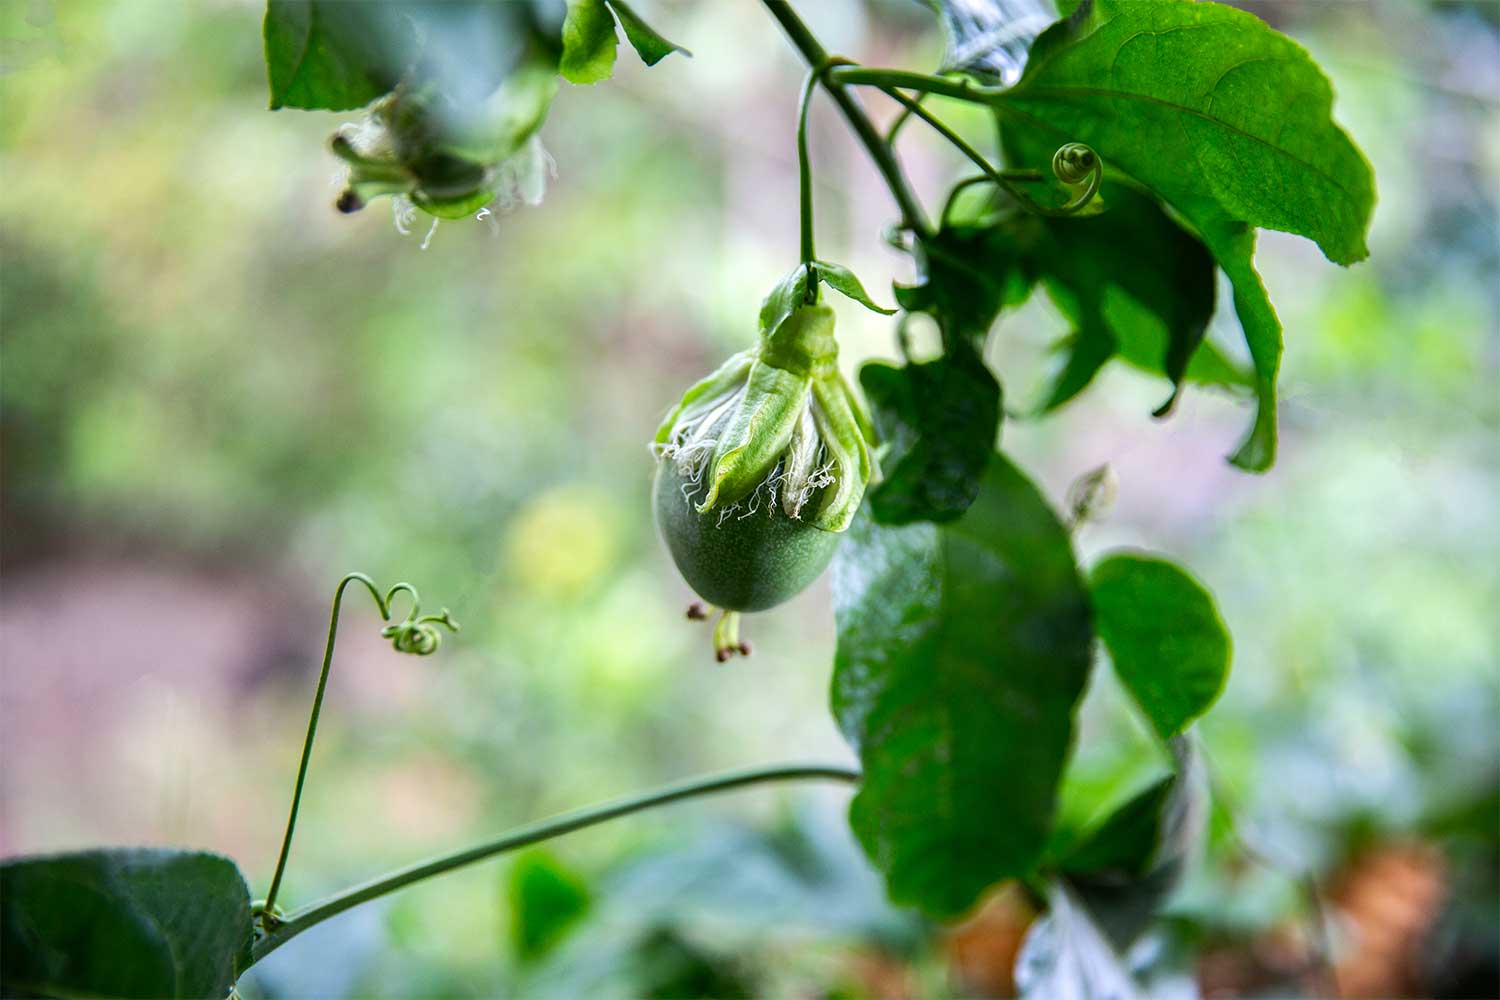
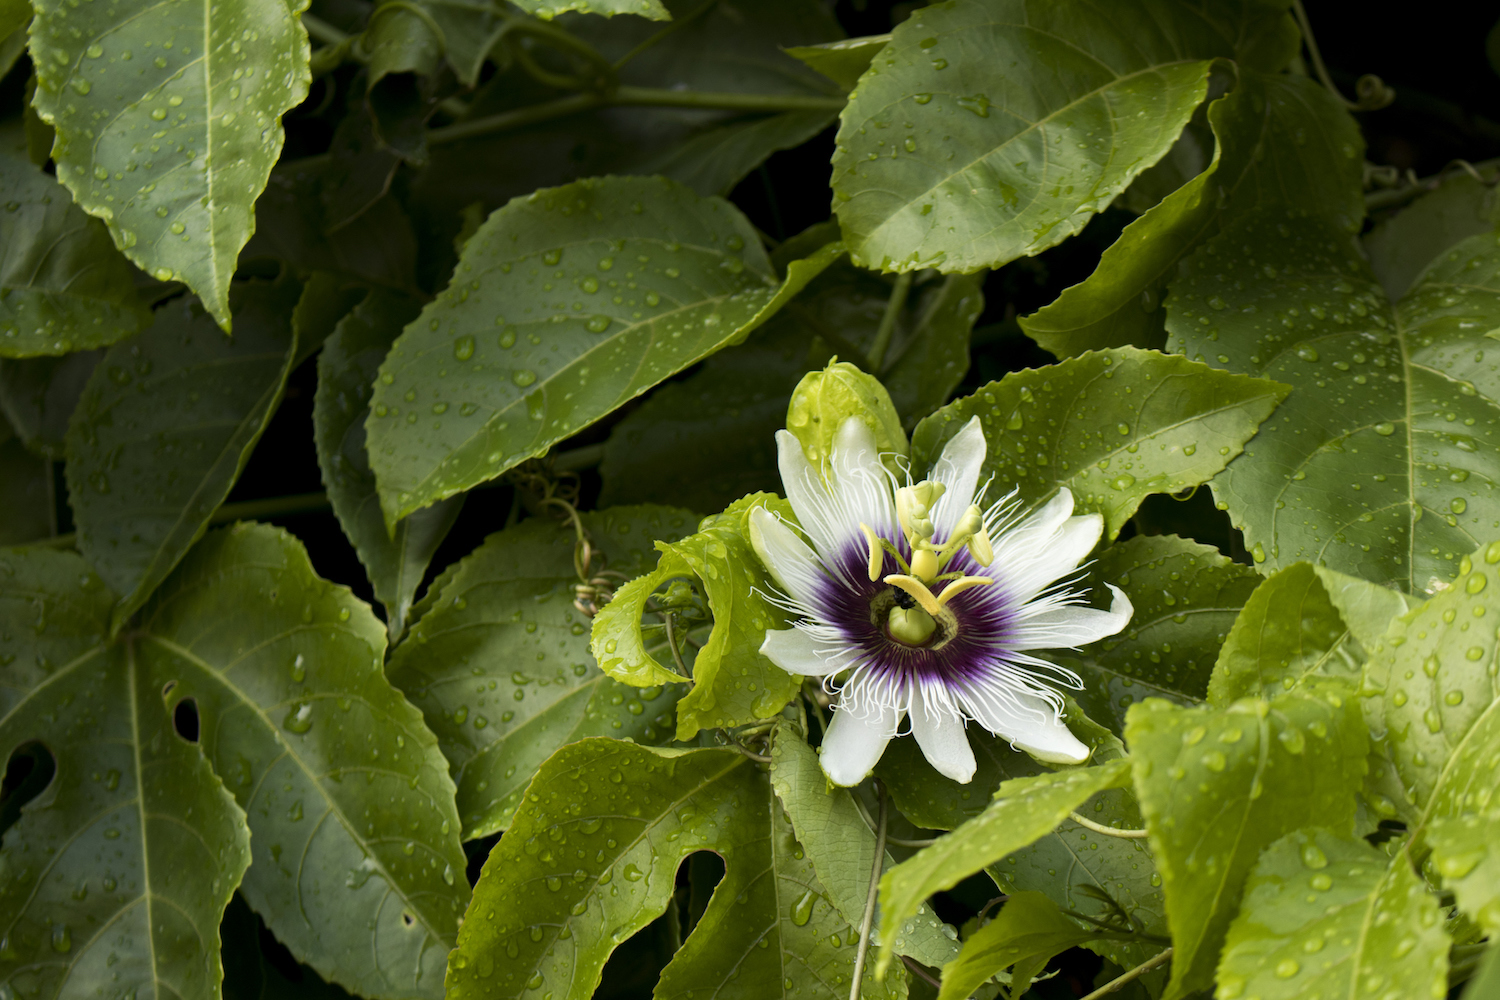
Blooms typically emerge in late spring prior to fruit development in early summer. You should see your initial fruits showing up roughly six to eight months post-planting; however, be patient as this process may extend up to about 18 months. passionfruit vine to fruit.

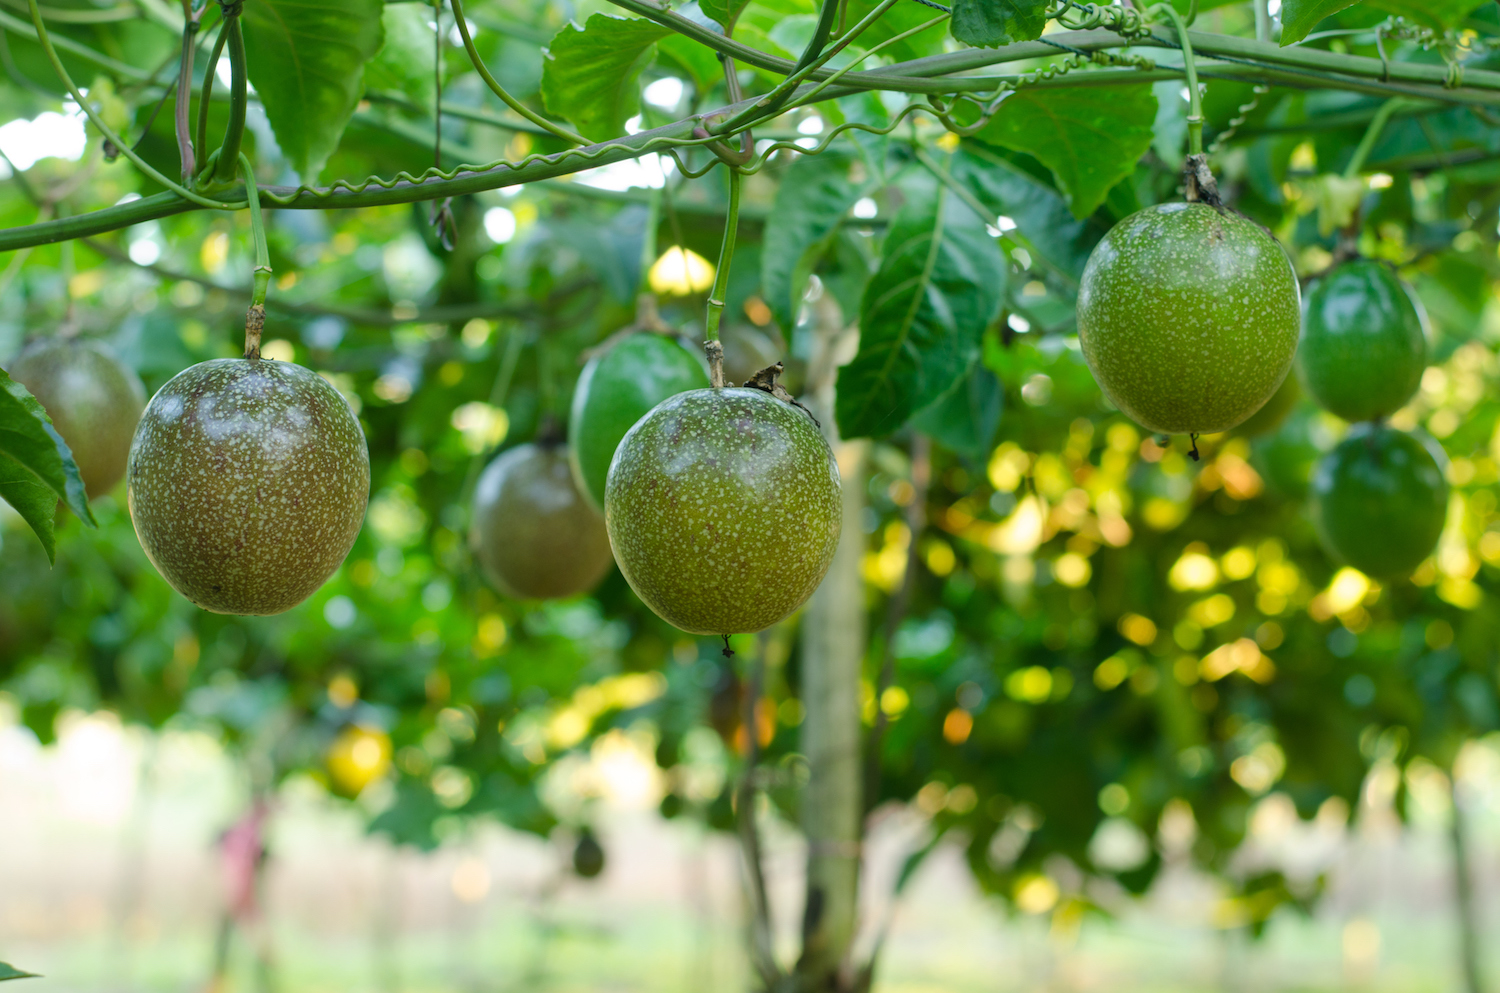
To ensure passionfruit is ripe, allow it to fully mature on the vine until it falls off naturally. Alternatively, you can harvest it once the fruit has achieved full color and detaches from the vine effortlessly.

Pruning

The best time to prune A passionfruit vine should be pruned in late winter or early spring. Reducing the vine by approximately one-third will stimulate robust growth and increase fruit production.
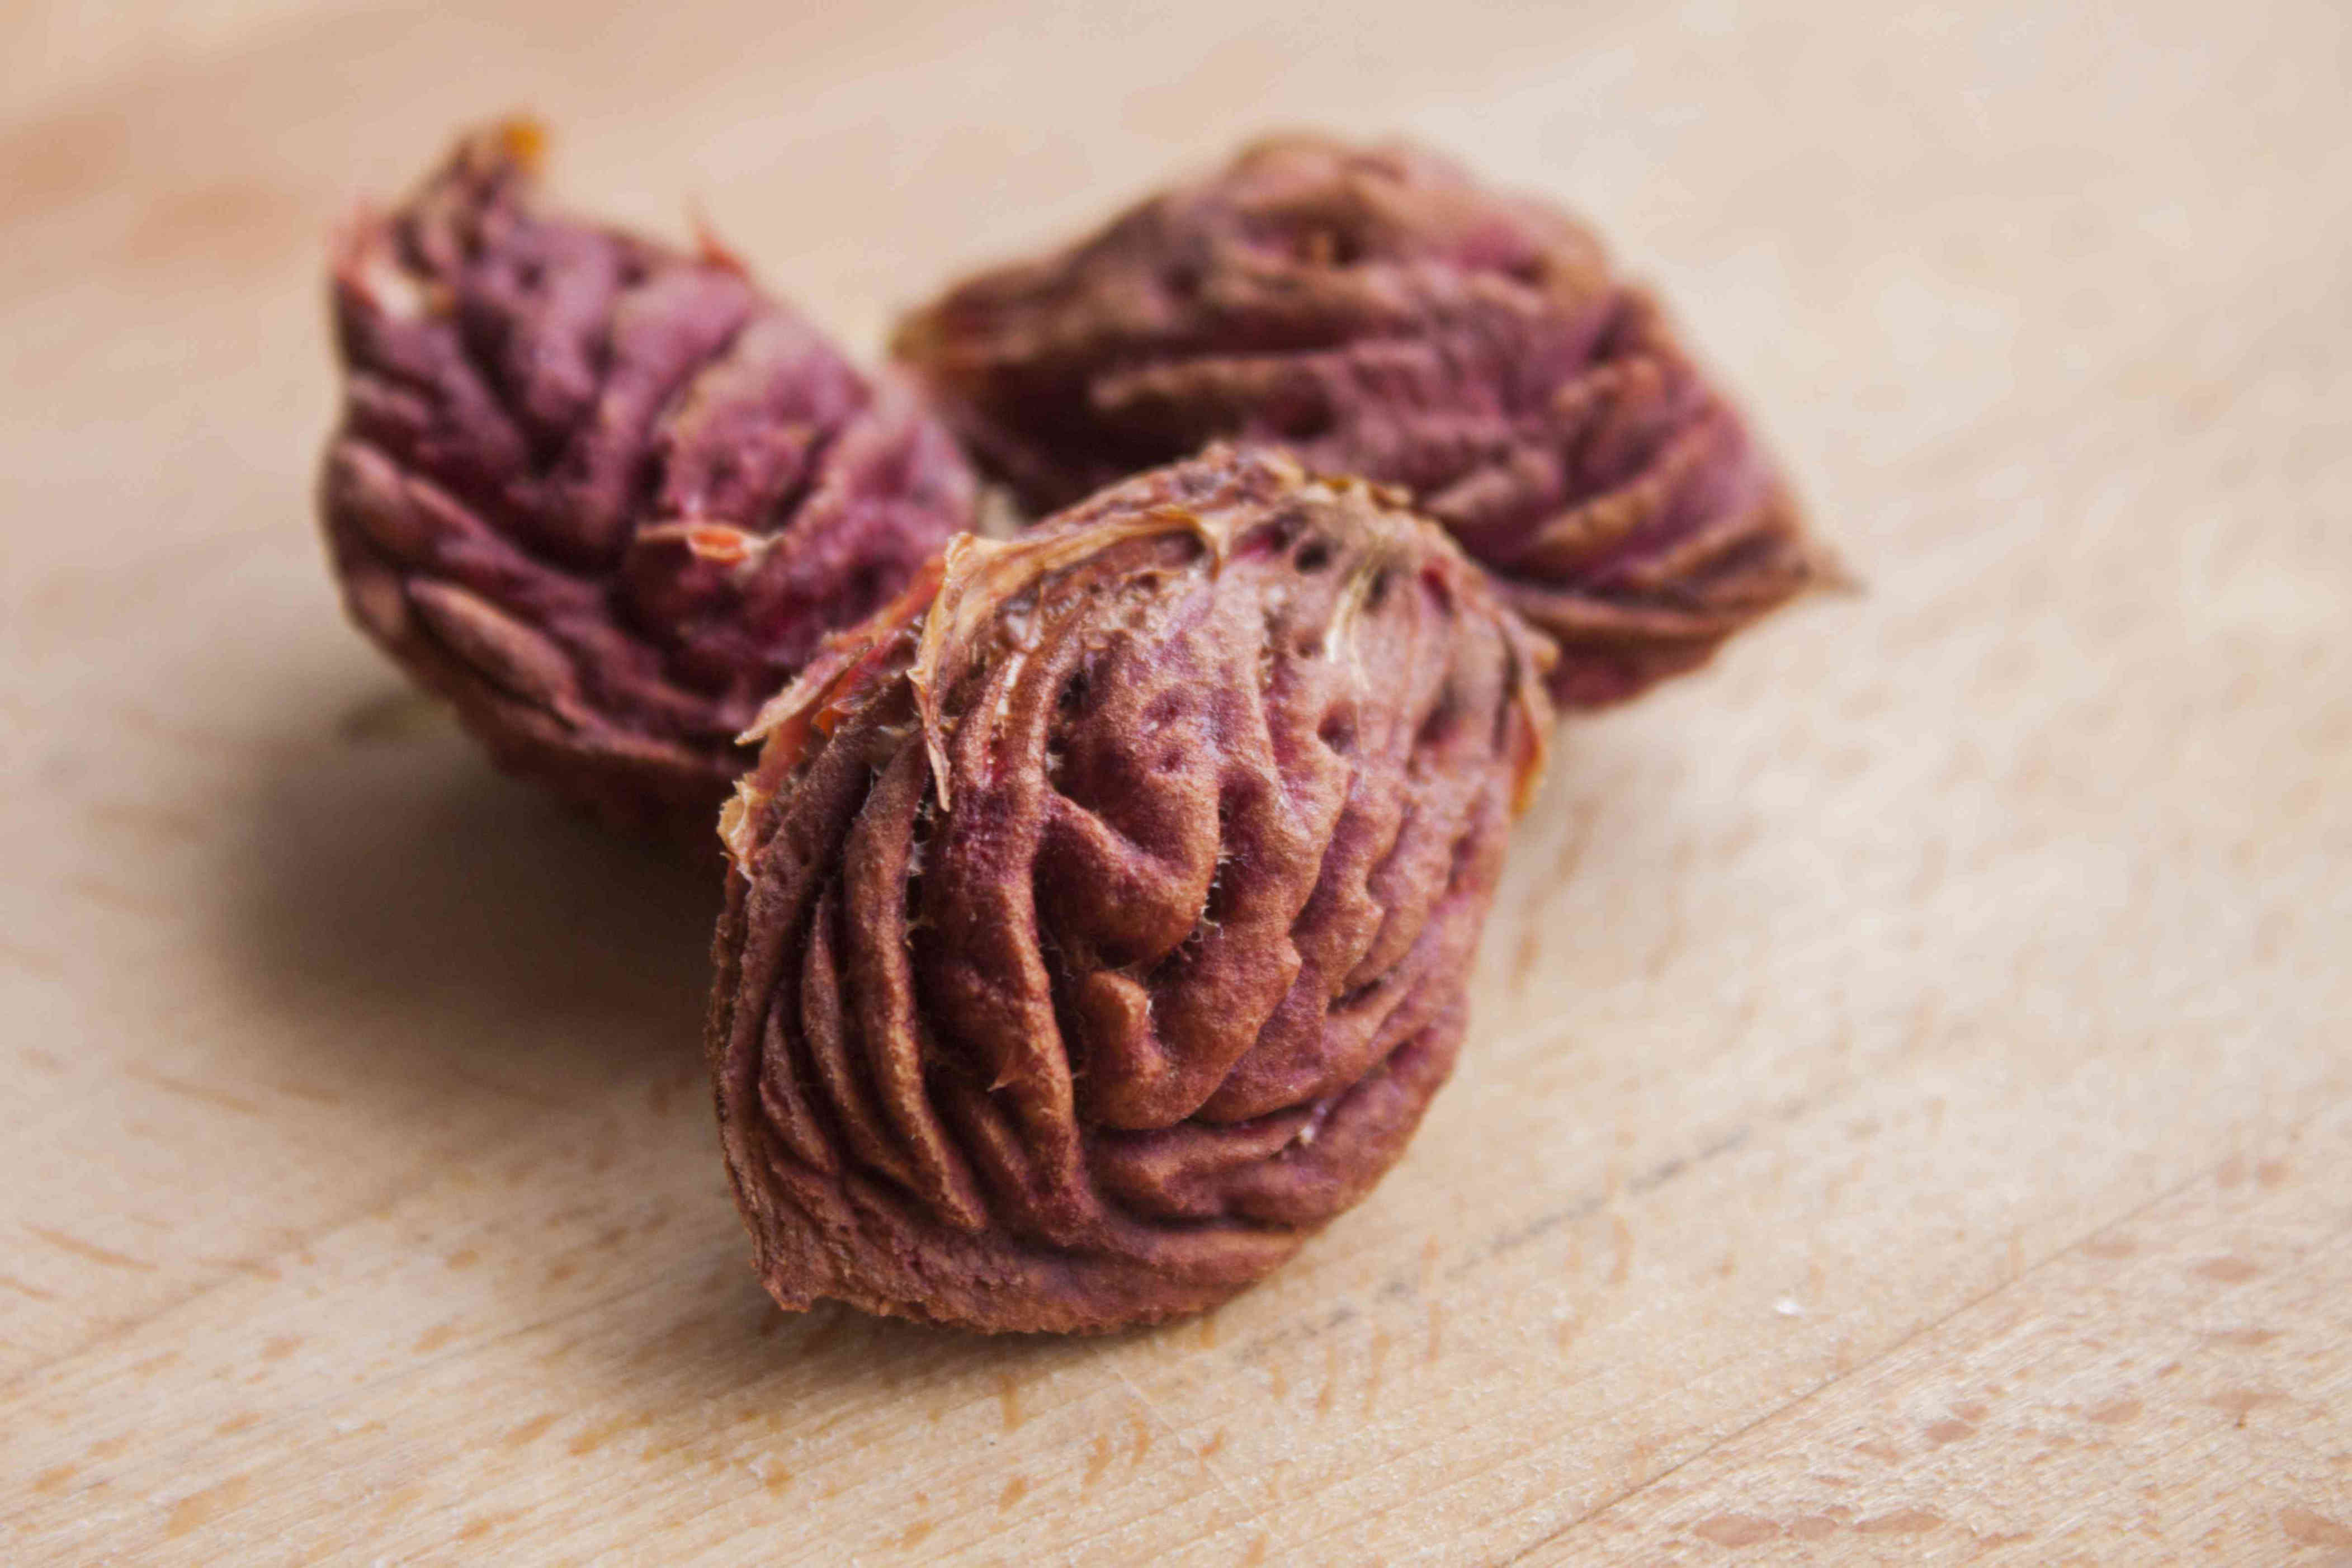
Propagation

The passionfruit vine may be propagated from cuttings However, it is best propagated from seeds.

How to grow passionfruit

  • Step 1: Select an area in your garden that receives ample sunlight for about six hours daily and is shielded from strong gusts of wind.
  • Step 2: As passionfruit vines require support, position your plant alongside a trellis, close to a fence, wall, or pergola. Ensure it has about 2 meters of space around it.
  • Step 3: Ensure your soil has plenty of organic material. If additional nourishment is needed, apply compost, manure, or blood and bone.
  • Step 4: Excavate a hole that has the same depth as your potted vine but twice as wide. Place the plant inside the hole and refill with dirt. Create a circular mound of earth about 20 cm out from the stem’s base (this will help retain moisture near the plant for an extended period).
  • Step 5: Watering Well. Ensure the soil remains damp around the roots for several weeks following planting to aid the vine’s establishment.
  • Step 6: Place an organic mulch layer around the bottom of your passionfruit vine.

Passionfruit vine problems

Not fruiting

A frequent grievance among passionfruit farmers is the absence of fruit yield. Several elements might be at fault; however, inadequate pollination is typically the primary issue.

The crucial activities of bees may be affected by alterations in weather conditions like persistent, heavy rainfall and varying temperatures. Additionally, applying too much fertilizer could lead to excessive growth in your vines but result in a lack of blooms and fruits.

Fruit dropping

If your passionfruit plant is producing fruits but they're falling from the vines, this might be because of inconsistent watering, fungal infections, or infestations of fruit flies.

Yellow leaves

Wondering why your The passionfruit leaves are turning yellow. The primary reason often cited is the woodiness virus; however, it might also stem from a lack of magnesium or nitrogen, or possibly "winter yellows" induced by chilly, blustery conditions.

Spots

If you're seeing spots on your vines' leaves and fruits, they are probably caused by fungi like Alternaria spot or Brown Spot disease.

Do you require having two passionfruit plants to yield fruits?

No, you don’t absolutely require two passionfruit plants to yield fruits. These plants typically have the ability to fertilize themselves, so one tree alone can generate produce. Nonetheless, possessing several trees might boost the likelihood of effective fertilization and could lead to greater quantities of fruit.

If you have limited space or resources, you can still grow a single passionfruit tree and expect it to produce fruit.

The post How to grow passionfruit appeared first on Better Homes and Gardens .

How to Plant a Peach Pit and Grow Your Own Fruit Tree


categories: , , ,

Expand your green space by planting your very own peach tree following this detailed tutorial.

There’s something about eating fresh, ripe fruit that makes us want to plant the seeds in our yard and grow our own trees. Many fruits are easy to grow from seed, just think about those watermelons growing out of the compost pile! Among fruit trees, peaches (as well as nectarines and apricots) are

Perfect choices for cultivation from seeds include starting a peach tree from a pit, which is cost-free and allows young saplings to flourish rapidly, ideal for novice gardeners. Employing correct planting methods is crucial for ensuring healthy seedling development and robust tree growth. Here we've included all necessary information to help you cultivate tasty peaches right from their seeds.

Gathering Peach Seeds

Although commercial peaches are typically produced through grafting, peaches tend to come true from seed. This means the fruit from the seedling will closely resemble that of the parent plant in flavor and other characteristics. As such, trees grown from seed provide a reliable and affordable (free) option for backyard growers. Collect seeds only from fully ripe peaches. For the best results, purchase fruits from local growers at a farm stand or farmer’s market. Locally grown peaches are more likely to be adapted to your regional climate than those purchased at the grocery store.

It is important to plant peaches that are well adapted to your region. All peaches require a certain period of cold temperatures during the winter months to ensure proper leaf and flower bud development the following spring. This is called a chilling requirement and is measured as the

accumulated hours at or below 45 °F. In coastal areas and other warm locations, it is necessary to select peach varieties with very low chilling requirements. Using peach seeds from fruits grown by local producers is a good way of ensuring you are using a peach variety adapted to local conditions.

Taste several different peach varieties to find your favorite(s). Peaches are self-fruitful, so you only need to plant a single tree or single variety to produce fruit. After eating the peaches, clean the pits using a brush and water, then let the pits dry on your countertop for several days. This will make it easier to crack the pits and remove the seed from inside (optional) and reduces the chances of fungal development on any pits you plant directly in the garden.

Optional Step: Cracking The Seed

Although you can plant peach pits whole, seed germination will be higher if you remove the seeds from the pits. It is also best to remove peach seeds from their pits if you will be stratifying seeds in the refrigerator, as described below. Take care when cracking the pits open to avoid damaging the seed (or embryo) inside.

To open peach pits, use a nutcracker, vice, or screw clamp to apply gentle pressure along the seams. The seed inside resembles an almond (a close relative) in shape and color. Discard any damaged seeds and those showing signs of disease, such as discoloration or fuzzy growth. Also discard any

shriveled, darkened seeds. Store seeds in an airtight container in a cool location, such as the refrigerator, until you are ready to begin germination.

Preparing Peach Seeds

Like many seeds, peach seeds require a period of cold treatment, called stratification, to germinate properly. This cold period causes natural germination inhibitors to break down. This is an adaptation to ensure that seeds sprout at the proper time of year, in spring, and not during the winter months. If you live in a cool climate, seeds can be started outdoors and will naturally experience the cold period required for germination. However, if you live in a warm climate, you will need to provide this period of cold stratification in your refrigerator.

Peach seeds require a cold stratification period of one to three months at temperatures between 32 and 45˚F. To germinate seeds in time for spring planting, begin stratifying seeds about four months prior to your average last frost date in spring. Remove seeds from their pits for indoor stratification.

To stratify seeds indoors:

Soak seeds overnight in room temperature water.

Place seeds in a lidded container filled with slightly moist potting media. Do not make the media too wet as it will promote mold.

Close the container and store it in the refrigerator. Keep seeds away from apples and other fruits. Do not allow the seeds to freeze.

Check seeds regularly beginning about one month after starting stratification. In time, you will see thick white roots begin to emerge.

Keep sprouted seeds in the refrigerator until ready to plant outdoors. The best time to plant sprouted peach seeds outdoors is about one month prior to your last frost date.

Planting The Peach Seed

Gardeners in locations experiencing cold winters can plant peach seeds directly in the ground or start them in outdoor containers in autumn (September to November, depending on location). If starting seeds in the ground, plant them where you want the tree to grow, allowing 15 to 20 feet

between trees. You may wish to plant 2-3 seeds per location, removing all but the strongest sapling once plants initiate growth in spring.

Select a planting site with full sun and well-draining soil. Prepare a planting bed at least 5 to 6 feet (preferably 10) in diameter by cultivating to a depth of 10 to 12 inches and incorporating organic matter such as compost. Conduct a soil test and adjust nutrients and pH accordingly. Peaches perform best in soils with a pH around 6.5.

To start seeds in outdoor containers, select a container with good drainage that is about 12 inches deep. Peat pots, paper pots, milk cartons, and other disposable materials make a great potting container as they can be cut away from the root ball without damaging roots. Bury containers in

the ground so that the soil surface is even with the surrounding soil. This helps to keep the soil and seed insulated over the winter.

Follow these steps for planting peach seeds:

Plant seeds twice as deep as their length–about 3 inches deep–in containers or well-draining garden soil.

Pack soil gently around the seed and water until moist, but not soggy.

Apply several inches of mulch to insulate seeds and maintain soil moisture.

Protect seeds from squirrels and other critters by covering the containers or planting bed with a wire cage or hardware cloth, extending the cage several inches into the soil.

Water throughout winter only when the soil has completely dried.

Transplant container-grown seedlings into the garden when they reach a height of 12 inches.

Peach seeds stratified in the refrigerator can be planted in the garden about one month before the final frost date using these same planting steps.

Caring For Peach Seedlings

Peach saplings grow quickly and can yield fruit in just three to five years. Choose a location where they receive a minimum of six hours of sunlight each day without being obstructed by tall structures or large trees. Since flower buds on peaches are vulnerable to frost during springtime, find an elevated spot so that cool night air flows downward easily. Ensure the area you select has well-draining soil; peach trees cannot handle waterlogged ground. The best types of earth include sandy and loamy compositions.

During the initial growth phase when peach trees are still saplings, consistent watering is essential. Keep track of natural precipitation levels and offer additional water whenever necessary so that the plant receives approximately an inch of water each week. Ensure deep soaking to fully saturate the roots beneath the surface. Surrounding the trunk within a radius of three feet, spread a layer of mulch measuring around three inches thick. This practice aids in retaining soil dampness and curbs weed development which can otherwise vie with young trees for vital resources like water and nourishment.

In many areas of the South, soil pH needs to be adjusted to provide ideal conditions for peach trees. Many gardeners will need to lime soil to raise the pH to around 6.5. Amend soil pH prior to planting and conduct a soil test every two to three years, adding additional amendments as needed. Fertilize new plantings with ½ pound of balanced (10-10-10) fertilizer one week after planting, keeping fertilizer 8 to 12 inches away from the trunk. Apply the same amount again 5 weeks later. In subsequent years, make fertilizer applications in March and May, increasing the amount to ¾ pounds in the second and third year, and one pound in years four and beyond.

Peaches are susceptible to several insect and disease pests. Commercial growers spray plants every seven to ten days beginning at bloom and lasting through harvest. Home gardeners can also use a spray program to manage pests, but many backyard growers do not like using pesticides in the landscape. Spray programs targeting fungi and plum curculio insects are most critical to producing a good harvest. An alternative is bagging individual fruits with a mesh bag to protect them, certainly a labor-intensive strategy. Other management strategies include proper sanitation. Dispose of any fruits or branches showing signs of disease in the trash, and do not let fallen fruits remain in the garden.

Related: Ways to Identify a Ripened Peach

Trimming and Reducing Peach Trees

Peach trees grow extensive thick leaves that block light from reaching the inner branches. To ensure the young fruits receive enough sun exposure, peach trees are typically trimmed into an open-center form. This process involves shortening the main stem’s top growth (referred to as the central leader) during the initial pruning session in late winter.

Planting and carefully pruning lateral branches is essential. Aim to keep only three or four sturdy branches distributed uniformly around the main stem; these will form the tree’s supporting limbs. Choose the most robust branches for this role. Ensure that the bottom limb sits approximately 18 inches from the ground, followed by each successive support limb at intervals of roughly six inches. Eliminate any additional secondary shoots and trim the leading shoot so that it ends slightly above the highest scaffold branch.

A healthy, properly cared-for peach tree frequently yields an abundance of fruit, sometimes producing so much that its branches may snap under the load. In certain years, it becomes essential to thin out the growing fruit. This process can be carried out manually or, when dealing with larger trees, accomplished by gently tapping the branches.

Using a pole, thin the fruits approximately four weeks post-full bloom, ensuring only one peach remains every six inches. This practice ensures that the leftover fruit grows bigger and tastes better compared to unthinned tree produce.

Frequently Asked Questions

Is it possible to sow a peach pit directly into the soil?

Certainly, if your area experiences adequately chilly winters, you can sow peach seeds directly into the soil outdoors.

How long does it typically take for a peach pit to sprout?

Peach seeds need a chilling time ranging from one to three months, varying by type, to overcome their dormant state and sprout.

Do you need to break the peach pit before sowing it?

Although it’s not essential to break open peach pits prior to planting, doing so and extracting the seeds can enhance the chances of successful sprouting.

What are the optimal growth requirements for peach saplings?

Peach saplings flourish in sunny locations with soil that drains well. Proper drainage is essential because the roots can easily develop root rot.

How frequently do I need to water my peach sapling?

Water the peach saplings every seven to ten days unless at least one inch of rain has occurred adequately.

Related: Ways to Store Tomato Seeds for Planting Next Year

To stay updated with more Southern Living news, be sure to subscribe to our newsletter!

Read the initial article on Southern Living .

How Long Do Onions Take to Mature? All You Need to Know – International Edition (English)


categories: 

How long does it take for onions to reach maturity? Various elements, such as The type of seedling and the growing environment influence how long it takes for them to reach maturity. , but Onions require between 3 to 5 months to mature. . Regardless of whether you're planting bulbs or spring onions, learn how to achieve a bountiful yield that will provide you with the highest returns.

Key takeaways

  • Onions take ranging from 3 to 5 months to reach maturity .
  • The factors affecting the maturity duration of onions include type of seedlings and technique for sowing .
  • Onions thrive in loamy sand with good drainage and rich nutrients with a The pH range from 5.8 to 6.8
  • Green onions require approximately 8 weeks (around 2 months) for growth.
  • The optimal time to sow onion seeds is during the short rains .
  • Green onions are the simplest type to grow and can flourish even in a small backyard garden.

How long does it typically take for an onion to mature?

A young onion plant matures within 3 to 5 months. There are Several methods for planting your young sapling , influencing the length of maturation:

  • Starting with seeds: Planting onions from seed takes the most time and demands patience as you guide the seedlings through each phase. Nonetheless, this approach provides the greatest rewards.
  • Starting with sets: You can begin planting using smaller, younger bulbs that tend to grow more quickly, reaching maturity within 3-4 months.
  • When you transplant them, how long does it typically take for onions to reach maturity? Transplanted onion plants require 3 to 4 months to reach maturity. .

Optimal conditions for growing onions

Onions thrive in Ideally, well-drained, nutrient-rich, sandy loam soil with a pH ranging from 5.8 to 6.8 should be used. . The ideal The soil temperature ranges from 13 to 15 degrees Celsius. It is recommended to get the soil evaluated by certified labs. Moreover, onions tend to thrive during the shorter rainy periods as excessive moisture can inundate the plants.

If you want to cultivate onions in areas with low moisture and high temperatures, consider setting up a greenhouse and use drip irrigation for watering. Make sure to obtain the suggested fertilizers and suitable onion seedlings for your project.

Types of onions that reach maturity rapidly

Spring onions are simple to cultivate and thrive even in small kitchen gardens. They can be grown either from seeds or through transplantation. Seedlings typically emerge within 10 days, whereas transplantation should occur around 4-6 weeks later.

Spring onions have decreased popularity due to their limited storage duration as opposed to bulb onions. These spring onions typically last for about 8 weeks to achieve full development . Other types of onions that mature more quickly include:

  • Green onions These can be collected between 20 to 30 days.
  • White-bunching onions They require roughly 60 days (about 2 months) to reach full maturity.
  • Early Yellow Globe This particular bulb onion reaches maturity in approximately 100 days.
  • Red Burgundy This red onion reaches maturity in about 95 days.

When are your onions considered ripe for harvesting?

Based on the type of onion and your chosen cultivation technique, they ought to be prepared for harvesting approximately four months after planting. When you observe the following indicators, stop irrigating the plants so that the ground can become dry; subsequently, carefully pull them up from the earth and let them air-dry in a well-ventilated area free of moisture for one to two weeks prior to storing. Keep an eye out for the following signals:

  • The foliage begins to droop as the bulbs cease their growth.
  • The bulb size ranges from 2 to 4 inches in diameter.
  • The external layer of the onion becomes dry and dehydrated.
  • Spring onions can be harvested when they reach 6-8 inches in height, as they will come out of the ground effortlessly at this size.

Frequently asked questions

  1. The quickest method to cultivate onions involves transplanting seedlings, which reduces the growing time by about four weeks.
  2. The optimal period for planting onions in Kenya is during the brief rainy season to avoid overwatering issues.
  3. What are the ways to cultivate large onion bulbs? The development of sizable onion bulbs relies primarily on the type of seedling used. Nonetheless, ensuring adequate nutrition and ample sun exposure plays a crucial role as well.
  4. The growth time of onions can be accelerated primarily through different cultivation techniques. By transplanting young onion plants or utilizing onion sets instead of directly sowing seeds, you can decrease the maturation period by roughly four weeks.
  5. How long does it take for spring onions to grow? It typically takes around 8 weeks for spring onions to become fully mature.

Final word

The time it takes for onions to reach maturity can vary depending on your chosen variety and cultivation technique. Typically, though, most types of onions require anywhere from 3 to 5 months to fully develop. Due to their popularity, cultivating onions can be quite profitable as long as you adhere to proper growing techniques.

.co.ke has released a detailed guide on planting spinach. With an increasing number of individuals adopting healthier dietary choices that incorporate fruits and vegetables, the demand for spinach appears virtually unlimited.

Starting spinach cultivation involves preparing the nursery bed followed by sowing seeds. Once these seedlings reach an age of 4-5 weeks, they should be moved to the field. For more detailed instructions, refer to the comprehensive guide mentioned earlier.

How to Grow Juicy Strawberries at Home in Australia

Strawberries or Fragaria Are among the most favored and tasty fruits in Australia. As strawberry season approaches, this is an ideal moment to sow strawberry seeds or plant young saplings and attempt growing your own!

Filled with nutrients and an incredible supplier of antioxidants Strawberries are a common favorite in numerous Australian homes during the warmer seasons. Let's explore together the top choices for cultivating strawberries at home.

How to grow strawberries

It might astonish you to know that cultivating your own strawberries is surprisingly simpler than you imagine. The primary fact about the strawberry plant is that it belongs to the rose family. This indicates that strawberries are not truly berries or fruits at all. Rather, they are The extended Stamens, along with the black seeds inside strawberries, actually constitute what we refer to as the 'fruit'.

Below is all the information required for cultivating your very own strawberry plants.

Strawberry varieties

Several kinds of strawberries grow in Australia. Among them, some of the most favored types include:

  • Millewa
  • Lowanna
  • Kiewa
  • Kalinda
  • Bunyarra
  • Adina
  • Tallara
  • Festival
  • Rubygem

Ways to Look After Strawberries

Climate

Although strawberries can be cultivated across all regions of Australia, the majority of large-scale strawberry farms are located in areas with milder climates such as Toolangi, Stanthorpe, and Tasmania. The ideal season for planting strawberries is during autumn and early spring.

Aspect

To ensure your strawberries thrive, grow them in a location where they receive ample sunlight and have access to damp yet well-aerated soil. It’s suggested by some specialists to utilize straw mulch or manure as this can aid in retaining moisture and keeping insects at bay!

Soil

Well-draineSoild and slightly acidic.

Water

Maintain dampness of soil. Ensure watering is directed at the soil rather than the foliage.

Food

Applied weekly using liquid fertilizer to encourage foliage expansion, robust root formation, and an abundance of tasty fruits.

Mulch

Use an organic mulch like sugarcane or lucerne to cover the soil or growing medium.

Disease

It's crucial to ensure the fruit isn't touching the ground since exposure to moisture can be detrimental. And keeping the soil consistently damp for an extended period can lead to fungal issues like grey mold. or fruit rot.

How to plant strawberries

Strawberries are adaptable and can be cultivated using various methods.

Strawberries produce high-quality fruit during the initial 1-2 years. After this period, they yield considerably fewer berries over the next 5-6 years until eventually ceasing production altogether. Due to this cycle, numerous commercial farmers opt to replant strawberries biannually. An established and healthy strawberry plant generates runners that establish roots and develop into new plants independently.

How to propagate strawberries

Absolutely! You can propagate your strawberry plants at no cost. These plants produce runners—side shoots—that develop their own root systems to create new specimens. However, these runners require substantial energy, which could detract from fruit yield during the initial two years. Thus, it's best to remove them until the third year when you can utilize the small rooted nodes along the runners as starter plants. Anchor these nascent roots using a hairpin or wire. About six weeks later, detach this offspring plant from its mother; then either let it continue growing in place or transplant it elsewhere.

The most effective method for cultivating strawberries

Although you have the option of buying strawberry seeds, the simplest method to cultivate strawberries is to begin with young plants, known as seedlings, available for sale at your nearby nursery.

There are six methods for cultivating strawberries.

1. In the ground

Historically, cultivating strawberries directly in soil has been the preferred method. Just buy one or two young plants and space them about 30 centimeters apart when planting them in your garden bed.

2. Raised garden beds

The strategy mentioned previously also applies here. raised garden beds .

3. Hanging pots

Hanging strawberry planters offer an entertaining and inventive solution for those with limited space to relish fresh strawberries right at home. These hanging containers typically boast excellent drainage, much to the delight of your strawberry plants.

4. Terracotta pots

Certainly, you can cultivate strawberries in containers. The sight of vibrant green strawberry leaves against terra-cotta pots is quite appealing. However, do keep certain precautions in mind. terracotta strawberry pots In the scorching Australian weather, terracotta surfaces can become extremely hot and may singe both the fruits and foliage.

5. Vertical garden

Another excellent choice for urban dwelling is a vertical garden Similar to tomatoes, strawberries possess robust stems, making them a perfect choice for your vertical garden.

6. Pipe

Cultivating strawberries inside a PVC pipe is both feasible and visually appealing when executed correctly. The primary methods for growing strawberries in these tubes include cutting several circular openings in the pipe or slicing the tube longitudinally so they can extend fully along its length.

How to harvest strawberries

Now that you've put in the effort, you might be curious about how long it takes for strawberries to mature. Here are some indicators to watch for: Initially, your strawberry plants will begin blooming between 8 to 16 weeks post-planting, followed by ripe berries appearing approximately 4 to 6 weeks later when blossoms emerge. Distinct from numerous other fruits, harvested strawberries cannot enhance their ripeness; hence ensure they're vividly red and succulent before picking them.

Pests that love strawberries

Strawberries aren't just a favorite for us; tiny creatures like them as well! From two-spotted mites to worms, slugs, and even possums, these organisms enjoy them too! garden pests Love strawberries for their fruity goodness, yet they also relish eating the plant's vibrant green foliage.

Ways to deter birds from your strawberries

It's likely that you won't be the only one eyeing those luscious berries. Cover your strawberry patch with bird netting to protect them from avian visitors and boost your harvest. Another approach is as follows: prevent birds from feasting on your fruit without causing harm to them .

Top plant partners for strawberries

Onion and garlic serve as excellent companion plants for strawberries because their potent aromas help deter pests.

Thyme: works well as an edge for strawberries since it keeps the worms away.

Leafy greens: numerous specialists think that planting lettuce , combining spinach and strawberries boosts the efficiency of all three!

After cultivating your strawberries, the subsequent step is to figure out how to utilize them! Will you consume them directly from the plants, or incorporate them into delectable treats? Take a look at 19 of our top picks for delicious strawberry recipes ideal for the spring weather.

The post Ways to cultivate strawberries at your residence appeared first on Better Homes and Gardens .