Whether you’re securing subfloors, building load-bearing laminated veneer lumber (LVL), or tackling home repairs, the right construction adhesive can mean the difference between a strong bond and a frustrating failure. We researched over 35 adhesives and then tested five in our workshops, and we found a favorite. Loctite’s PL 3X Premium Adhesive delivered more sheer holding power than the other adhesives in our hands-on tests. We were slightly surprised—and very impressed.
With so many options available (each claiming to produce the toughest holding power for one type of material or another) it’s not easy to choose. Ahead, we share expert shopping tips and reveal why the following products made our list of the best construction adhesives.
-
BEST OVERALL: Loctite PL 3X Premium Adhesive
↓ Jump to Review
-
BEST BANG FOR THE BUCK: Liquid Nails Heavy-Duty Construction Adhesive
↓ Jump to Review
-
BEST HEAVY-DUTY: Liquid Nails Fuze It Max Polymer-Based Adhesive
↓ Jump to Review
-
BEST WATERPROOF: Gorilla Heavy-Duty Construction Adhesive
↓ Jump to Review
-
BEST EXTERIOR : Loctite PL Solvent Exterior Landscape Adhesive
↓ Jump to Review
-
BEST FOR METAL: J-B Weld 8276 KwikWeld Quick Setting Epoxy
↓ Jump to Review
-
BEST FOR CONCRETE: PC Products 72561 PC-Concrete Two-Part Epoxy Adhesive
↓ Jump to Review
-
BEST FOR TILE: Dap 25190 Weldwood Multi-Purpose Adhesive
↓ Jump to Review
Construction Adhesives Comparison Chart
Our Top Picks
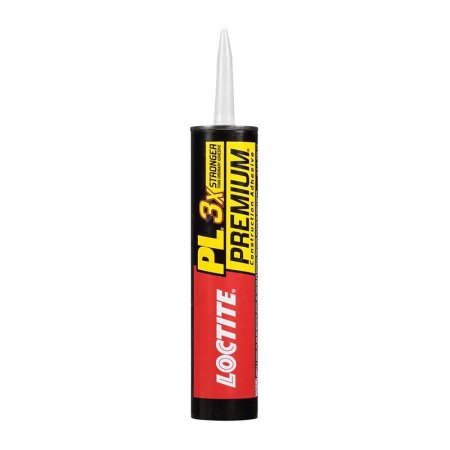
Best Overall
Loctite PL 3X Premium Adhesive
What We Like
- High-performance bond
- Cures in 24 hours
- Appropriate for both indoor and outdoor applications
- The top pick for wood adhesive
What We Don’t Like
- A high level of thickness demands greater force for application.
Specs
- Compatible surfaces: Most common construction materials
- Cure time: 24 hours
- Interior or exterior use: Both
Our Ratings
In our practical evaluations, Loctite’s PL 3X Premium Adhesive performed exceptionally well. It secured the top spot when we tested it with a 1x2 board; the adhesive maintained its integrity up to an impressive 115-pound pull strength before failing, as determined using our crane scale.
This is a powerful, quick-setting adhesive that applies stickier compared to several other brands. Based on our observations, the sticker quality often correlates with how robustly items adhere together. PL 3X works well for both interior and exterior projects. We found this adhesive particularly effective when testing it on concrete bricks; even after dropping them, the bricks fractured down the center rather than along the glued joint.
PL 3X needs 24 hours to achieve maximum bonding power. Because of its thick consistency, using the adhesive demanded slightly more force when squeezing the caulking gun’s trigger; however, we found the resulting bond was quite robust. For those intending to utilize large quantities of this adhesive, think about investing in an cordless caulking gun to reduce hand fatigue.
What our tester says: "I was astonished by the remarkably robust connection created with Loctite’s PL 3X. I would have no reservations about using this product for building engineered beams." —Glenda Taylor, Product Reviews tester and writer
Purchase the Loctite PL 3X construction adhesive at Amazon , Lowe’s , or The Home Depot .
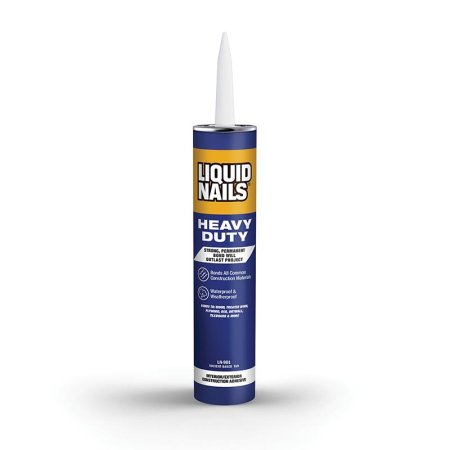
Most Value for Money
Heavy-Duty Construction Adhesive from Liquid Nails
What We Like
- Simple to use with a caulk gun.
- Appropriate for various types of materials
- Excellent grip strength along with bendability.
What We Don’t Like
- The least robust connection in our trials
Specs
- Compatible surfaces: Most common construction materials
- Cure time: 24 hours
- Interior or exterior use: Both
Our Ratings
High-quality construction adhesives don't always come at a high cost. During our testing, Liquid Nails Heavy-Duty resisted an impressive pull force of 112 pounds, which makes it suitable for tasks requiring substantial bonding strength like installing subfloors.
This product excelled in our assessments involving concrete bricks and metal strips, proving simpler to use compared to several other construction glues we evaluated. Its versatility allows it to bond numerous types of materials effectively, providing a bit of elasticity which makes it ideal for tasks where shifting or settling might occur. Additionally, it serves as a reliable filler adhesive.
The heavy-duty construction adhesive from Liquid Nails starts setting after approximately 15 minutes and achieves full curing within 24 hours. It offers water resistance and can be used both indoors and outdoors.
Purchase the Liquid Nails Heavy-Duty construction adhesive at Lowe’s , The Home Depot, or Walmart .
Best Heavy-Duty
Fuze It Max Polymer-Based Adhesive by Liquid Nails
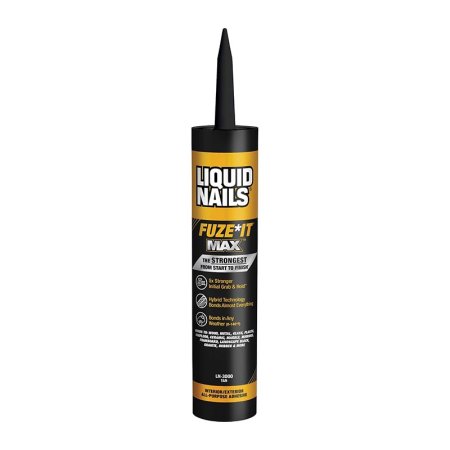
What We Like
- Very strong bond
- Excellent concrete bonding agent
- Dries quickly to touch
What We Don’t Like
- The denser consistency requires more effort to distribute.
Specs
- Compatible surfaces: Most common construction materials
- Cure time: 12-24 hours
- Interior or exterior use: Both
Our Ratings
The second Liquid Nails adhesive in our list, Fuze It Max, managed to withstand 589 pounds of pulling force before breaking apart. It also performed exceptionally well in our tests involving metal strips and concrete bricks.
It has fairly high viscosity, which demands a bit more effort when dispensing. caulking gun , but it forms a quick bond and dries to the touch in about 20 minutes. We suggest Fuze It Max for projects requiring high tensile strength, such as building LVLs or bonding rigid materials like stone or concrete. It might not be as suitable for materials that expand and contract or are subject to vibration or impact.
Get Liquid Nails Fuze It Max construction adhesive at Amazon , Lowe’s , or The Home Depot .
Best Waterproof
Gorilla Heavy-Duty Construction Adhesive
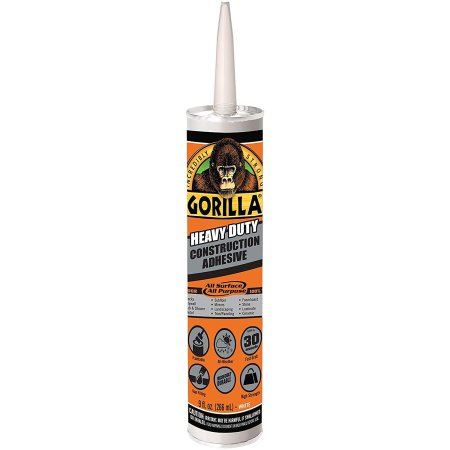
What We Like
- Waterproof and all-weather
- Slight flexibility after curing
- Solvent-free formula
- Compatible with a wide range of surfaces
What We Don’t Like
- Not a high-tensile strength adhesive
Specs
- Compatible surfaces: Most common construction materials
- Cure time: 24 hours
- Interior or exterior use: Both
Our Ratings
The Gorilla brand labels its robust adhesive as both weatherproof and multipurpose, which is accurate. This glue resists moisture, works well indoors and outdoors, sets within 30 seconds, and adheres effectively to various materials like mirrors and marble. Since none of the components such as water or solvents dissipate during drying, this adhesive becomes firm rapidly upon contact and achieves complete curing after one day.
We discovered that the Gorilla adhesive was simple to apply. Despite completely curing, it stayed somewhat pliable. During our wooden test samples, it managed to resist up to 121 pounds of pull force. Additionally, it performed admirably when tested with metal strips and concrete bricks.
Since it boasts a 100% waterproof design, we believe it's an excellent option for damp zones like bathrooms and kitchens; it serves as a superb adhesive in these settings. caulk for showers We would not think twice about using it for tasks involving anticipated movements or settlements. This product works well with various types of building and do-it-yourself materials.
Purchase the Gorilla construction adhesive at Amazon , Lowe’s , and The Home Depot .
Best Exterior
Loctite PL Solvent Exterior Landscape Glue
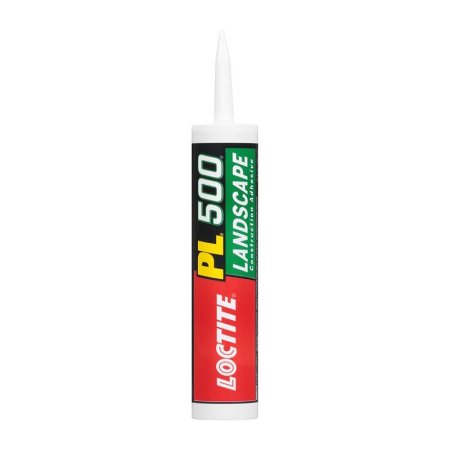
What We Like
- Outdoor construction adhesive
- It can be used on damp or icy timber.
- Easy to dispense
- Weather-resistant and durable
What We Don’t Like
- Outdoor-only use (emits fumes)
Specs
- Compatible surfaces: Most exterior landscaping materials
- Cure time: 2–7 days
- Interior or exterior use: Exterior
Our Ratings
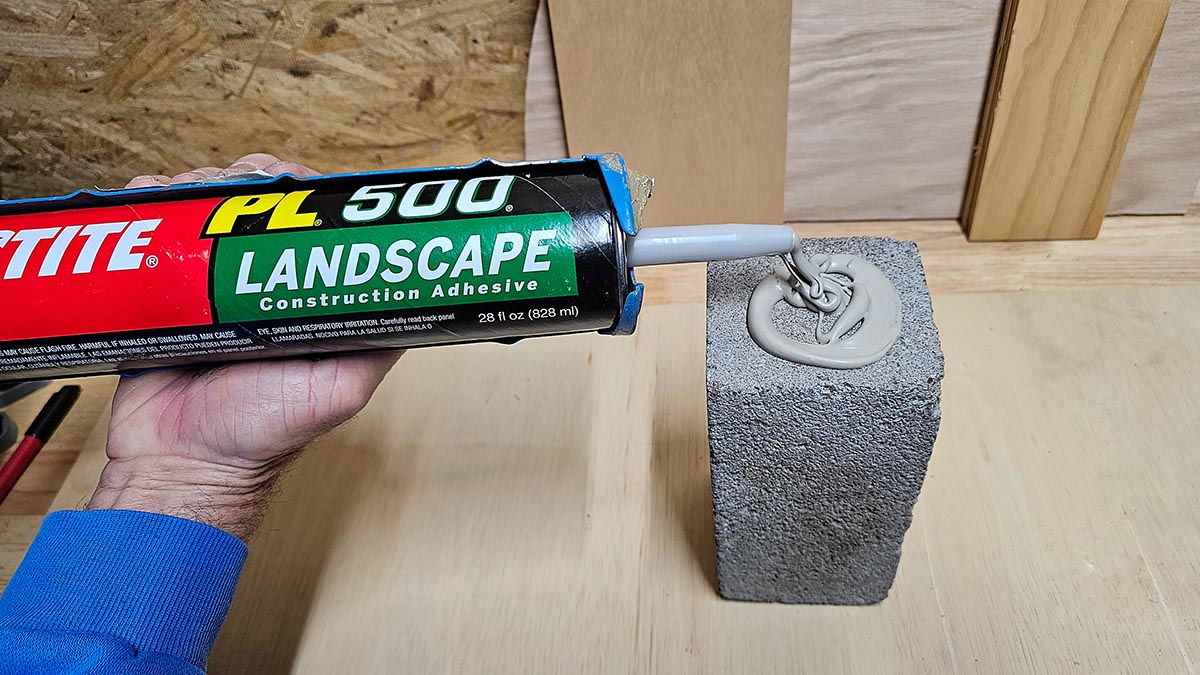
When working on outdoor tasks that require a robust connection, we prefer using Loctite’s PL 500 Landscape adhesive. During our timber durability assessment, this product managed to resist an impressive pull-force of 328 pounds. Additionally, it demonstrated superior bonding capabilities when tested on metal pieces and cement blocks.
Nevertheless, this adhesive is designed for external use since it releases more fumes compared to similar products. Although we found the scent tolerable, there was notably more odor than what we experienced with alternatives. Additionally, it includes a caution against indoor application. The drying period is also extended; up to one week to achieve complete solidity, so keep this in mind when deciding to use it.
It applies smoothly and without hassle, and we would have no qualms about using PL 500 for exterior tasks like securing caps onto retaining walls, adhering paving stones to stop them from moving, or installing granite surfaces in your backyard cooking area. An added advantage is that you can apply PL 500 right away to damp or icy wood, which makes it one of the most flexible options available for outside building jobs.
What our tester says: "We experienced an extremely cold period while conducting adhesion tests, and on a sudden impulse, I decided to use PL 500 to attach two ice-covered logs. To my surprise, they remained firmly connected when I inspected them after two weeks." — Glenda Taylor, Product Reviews Tester and Writer
Purchase the Loctite Landscape construction adhesive at Amazon , Lowe’s , or Menards .
More Great Options
Although we did not evaluate the subsequent three construction adhesives, they earned a spot on our shortlist because of their features and strong customer approval. Should you have yet to discover the suitable adhesive for your project, chances are good that one can be found among these recommendations.
Best for Metal
J-B Weld 8276 KwikWeld Rapid-Setting Epoxy
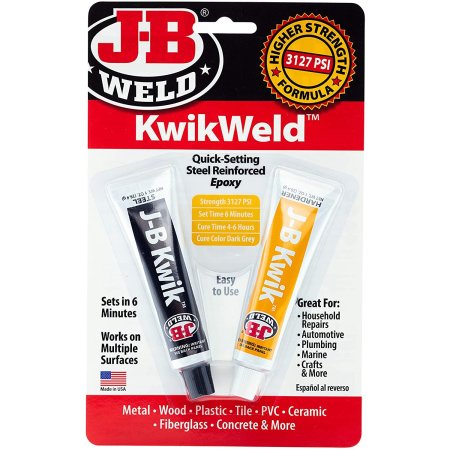
What We Like
- High PSI rating
- Stable under high temperatures
- Appropriate for sanding, shaping, and patching
- Fast-drying construction adhesive
What We Don’t Like
- Requires mixing before use
Specs
- Compatible surfaces: Most common construction materials
- Cure time: 4–6 hours
- Interior or exterior use: Not specified
Materials such as metal and plastic, which have low porosity, pose distinct challenges for adhesive applications. However, J-B’s KwikWeld tackles these issues using a specially formulated two-part epoxy ideal for joining metals. This product sets within just 6 minutes and achieves full curing in about 4 to 6 hours, offering a quicker solution relative to many other adhesives.
Although we did not evaluate this item during our current assessment, we have previously utilized J-B Weld and achieved outstanding outcomes. Once cured, this compound becomes extremely durable, allowing it to be filed down, shaped, and patched as needed. It can endure heat levels reaching up to 230 degrees Fahrenheit and handle pressure exceeding 3,000 pounds per square inch.
Unlike other building adhesives, this one operates differently. Epoxy works by combining two substances which then undergo a chemical change to form the bonding agent. This item comes in a convenient 25 milliliters pack with a syringe-style container designed for simple blending and multiple uses; however, it holds less material compared to standard 10-ounce containers that you mix yourself. Given its limited volume, we suggest using KwikWeld for smaller tasks requiring strong adherence.
Obtain the J-B Weld construction adhesive from Amazon , Lowe’s , and The Home Depot.
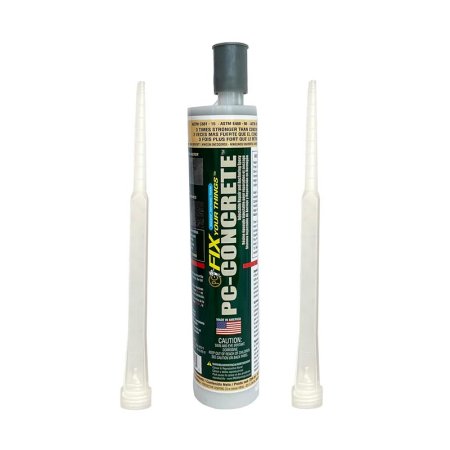
Best for Concrete
PC Products 72561 PC-Concrete Two-Component Epoxy Adhesive
What We Like
- Appropriate for utilization in damp environments
- Stable between -20°F and 115°F
- Suitable for anchoring rods
What We Don’t Like
- It's available in limited amounts only.
Specs
- Compatible surfaces: Concrete
- Cure time: 4 hours
- Interior or exterior use: Both
The epoxy from PC Products works well for both indoor and outdoor concrete bonding needs. You can handle it after just 20 minutes, but full adhesion takes around four hours. This sticky adhesive repels water, which makes it ideal for use in wet conditions or underwater settings. Its robust grip is perfect for securing rods, bolts, and dowels.
We particularly enjoy the impressive 6,790 PSI bonding strength of PC-Concrete. This feature makes it a great option for sealing and fixing fissures in masonry and concrete structures that will endure stress.
The two-barrel design helps reduce some of the mess associated with mixing epoxy. Nevertheless, even when using certain dual-chamber epoxy dispensers, we found it necessary to mix the adhesive with a dowel for consistency. Be sure to have an instrument available for blending the epoxy, should additional mixing be required.
Obtain the PC Products construction adhesive. Amazon and at Sears .
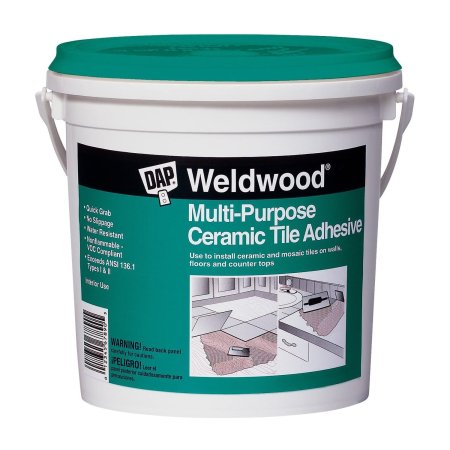
Best for Tile
Dap 25190 Weldwood Versatile Ceramic Tile Adhesive
What We Like
- Easy to apply
- Does not necessitate a caulking gun
- Quick-grabbing bond
What We Don’t Like
- Not appropriate for metal or plastic
- Intended for indoor use only
Specs
- Compatible surfaces: Tile
- Cure time: 24 hours
- Interior or exterior use: Interior
We have frequently utilized Dap products during our tile-laying projects and have consistently achieved satisfactory outcomes. This particular version of their adhesive is specifically tailored for use with ceramic tiles yet demonstrates excellent adherence to various surfaces such as masonry, plaster, gypsum, and plywood. In contrast to other bonding agents that necessitate chemical blending or application via a caulk gun, Dap’s product can be easily spread using a trowel. Its rapid-setting property ensures an immediate hold, thus negating the requirement to support the tiles prior to setting them in place.
This glue isn't appropriate for tiles bigger than 8 inches by 8 inches and shouldn’t be utilized to attach non-porous surfaces such as metal or plastic.
Obtain the Weldwood Multipurpose construction adhesive from your local store. Amazon and Walmart .
Skip to Our Featured Recommendations
How We Selected and Evaluated the Top Construction Adhesives
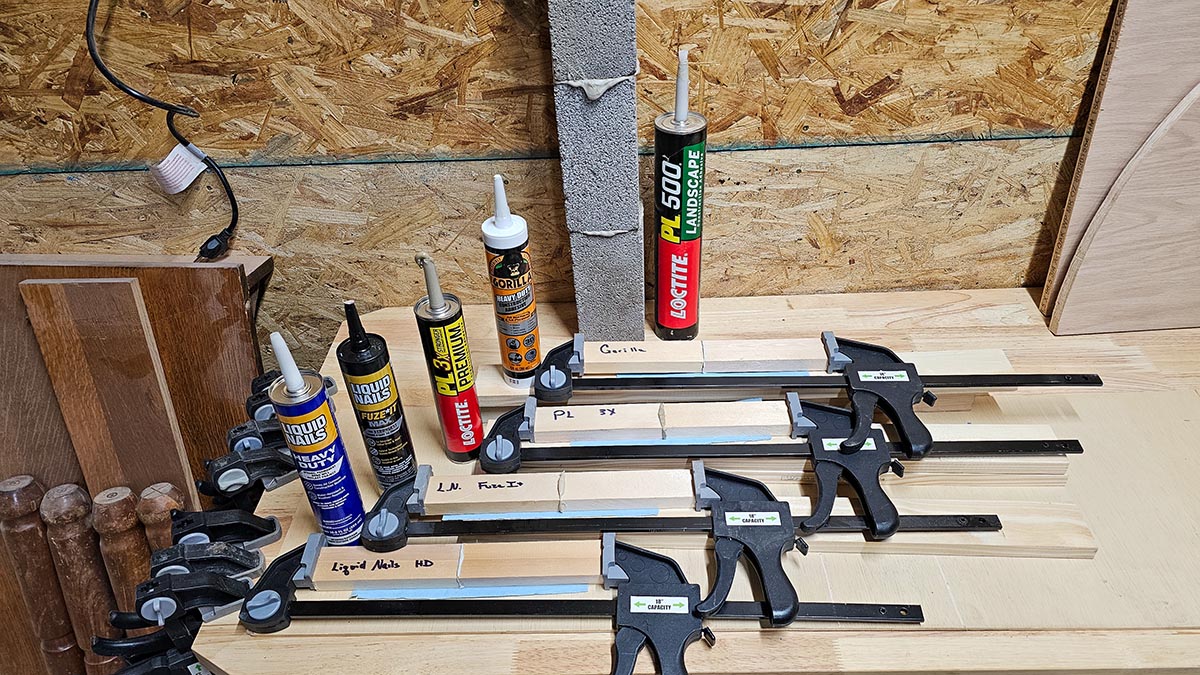
We looked into more than 30 popular and top-rated construction adhesives across various types, shortlisting them down to eight favorites before selecting the top five for practical testing. Keep in mind that these trials aren’t comprehensive since numerous additional construction adhesive options are available, each capable of providing strong bonds.
We applied the adhesives to wood, concrete, and metal surfaces, letting them set for the suggested duration (ranging from 4 hours to 7 days). Ultimately, we tried to sever those connections.
In the wooden board evaluations, we joined the ends of 1-by-2 planks using an adhesive, secured them firmly with clamps, and subsequently applied tension through a hydraulic puller and a crane scale to determine the maximum pulling stress the bonded joints could endure prior to failure. Among these assessments, the Loctite PL 3X epoxy demonstrated exceptional strength, sustaining up to 615 pounds of pulling force before giving way (as measured by our equipment). If this particular glue were utilized for bonding the ends of 4-by-4 beams instead, calculations suggest that the joint should be able to resist over 6,600 pounds of tensile load without failing.
In our concrete testing, we attached individual concrete blocks end-to-end, allowing the adhesive to set fully before dropping them from a height of five feet to check whether they'd fracture along the bonded joints or somewhere else entirely. As for the metal evaluations, we joined thin metal sheets face-to-face with an adhesive and attempted to separate them manually afterward. The result? We couldn’t manage to peel any pairs apart.
We allocated points according to a scoring system where adhesives received more points for performing well on tests. Following the evaluation, we calculated the average scores to identify our top choice overall and classify the rest based on their optimal uses.
Factors to Think About When Selecting a Construction Adhesive
Not all types of glue Are appropriate for various projects. The surface material, curing duration, bond strength, and application techniques all determine which formulation to choose. Continue reading to discover how to pick the optimal construction adhesive for your task.
Surface Type
A multitude of adhesives form bonds at a molecular scale with building materials, yet none fits every use case perfectly. Each material—be it metal, concrete, glass, or timber—possesses distinct atomic and chemical characteristics. Therefore, it's essential to select an appropriate construction adhesive tailored precisely to your specific job requirements based on these differing attributes.
The top construction adhesives for wood possess elastomeric qualities, allowing them to bend along with the material and then return to their original form. Adhesives based on silicone provide both water resistance and suppleness, whereas super glues deliver strong bonds but without any flexibility. Smooth and nonporous surfaces do not bond easily compared to textured ones such as sawn wood; therefore, select an adhesive designed for this purpose. metal or plastic adhesion.
Drying Time
Obtaining a robust joint using construction adhesive entails two steps: drying and curing. Liquid components are incorporated into these adhesives by manufacturers to make them easier to apply. Once applied, this liquid part vaporizes. As the solvent disappears, the adhesive dries out, thus forming a connection between the materials involved.
Curing is a chemical process during which the adhesive crystallizes. Upon final crystallization, the adhesive achieves its full strength. Don’t be fooled by a dry construction adhesive, as dry does not necessarily mean the project is ready for the next step.
Adhesives vary in drying and curing times. Some cure fully within moments, while others take several days. A slow-drying construction adhesive is not ideal for a time-sensitive project, but if it’s the necessary adhesive for the material, it’s critical to observe the recommended curing time before moving on.
Strength and Longevity
Strength is a critical consideration in construction adhesives. An adhesive unequal to the job could ruin a project. Scientists and manufacturers consider a bond’s strength through two measures: lap shear strength and peel strength.
A lap shear test measures an adhesive’s ability to withstand stress when the glue moves laterally to the repaired material. Peel strength measures adhesive strength under perpendicular pressure. Construction adhesives are designed to bond permanently but may fail or disintegrate if exposed to extreme pressure or environmental factors.
Application
Anyone who has accidentally glued their fingers together can attest that applying construction adhesives can be tricky. Because each product varies in best application practices, it is crucial to consult the manufacturer’s instructions.
Nearly all manufacturers agree that the material must be cleaned before application. Usually, a mix of 50 percent rubbing alcohol and 50 percent water washes away oils and dirt that may interfere with the adhesive.
Reading the full directions and having everything prepared for the job can be the difference between a neatly adhered project and a sticky disaster.
FAQs
Do you still have some lingering questions about adhesives? Here are some common questions to help you choose the best construction adhesive for your project.
Construction adhesives are primarily designed to be permanent. Some of the strongest adhesives can hold hundreds of pounds, though it is inadvisable to rely solely on them for a load-bearing project.
Superglues can dry in as little as a few seconds, while other types of adhesives may take days or longer to achieve full strength.
Adhesives take between a few minutes and several days to bond and cure completely. In our testing, Liquid Nails’ Fuze It Max formula dried to the touch the fastest.
Consult the manufacturer’s instructions for the best methods for using your construction adhesive, as adhesive application varies from product to product. Epoxy resin Requires blending chemicals, whereas silicone- and glue-based adhesives can be directly applied from their containers.
Manufacturers design construction adhesive to be extremely durable, but even the most stalwart formulas break down under the pressure of time. Construction adhesives may last for years, but improperly applied adhesives could break down far sooner.
Construction adhesives deteriorate when exposed to high temperatures. To eliminate an adhesive, apply heat using a hairdryer or a heat gun to the bonded area. Once the adhesive becomes pliable, you can scrape it away with a putty knife.
Meet the Tester
Glenda Taylor works as a contractor, product tester, and writer with expertise mainly in construction, DIY tools, and home appliances.
Additional research provided by Mike Bruton