Showing posts with label housecleaning. Show all posts

Spring Clean Like a Pro: Follow This Essential Tidy Home Checklist

Spring frequently seems like a new beginning — the perfect season for tackle cleaning and organizing projects Throughout this year, you've been neglecting some tasks. Tidying up your whole home can be daunting, yet you shouldn’t try to tackle every task simultaneously. Instead of worrying about which area to start with, adhere to our guidelines. spring cleaning checklist , featuring comprehensive guidelines for each room and the tasks required throughout the entire home.

Carolyn Forté , who serves as the executive director of the Cleaning Lab at the Good Housekeeping Institute mentions that you should tackle most of these chores throughout the year, but shifting seasons can be an excellent opportunity to get back on track. She adds, “Spring is ideal for addressing those lingering tasks that weigh on your mind, providing a significant sense of achievement and pleasure as you tick them off your checklist.”

Here’s our recommendation: Establish a practical cleaning routine, then when the temperature rises sufficiently, throw open your windows and dive into some thorough cleansing.

What You'll Need:

When tackling a full-house cleaning session, ensure your arsenal includes various cleaning essentials—beginning with these essential items. As suggested by Forté, this thorough spring preparation can be ideal for acquiring fresh cleaning gear as well. Consider adding microfiber towels, dusting brushes, replacement mop covers, and vacuum filters—or perhaps invest in a more advanced vacuum unit.

  • Quality vacuum cleaner with attachments
  • Top-tested mop
  • Microfiber clothes
  • Heavy-duty sponges
  • Rubber gloves
  • Key cleaning agents, such as dish soap, white vinegar, baking soda, multipurpose spray, and window cleaner

Spring Cleaning Checklist:

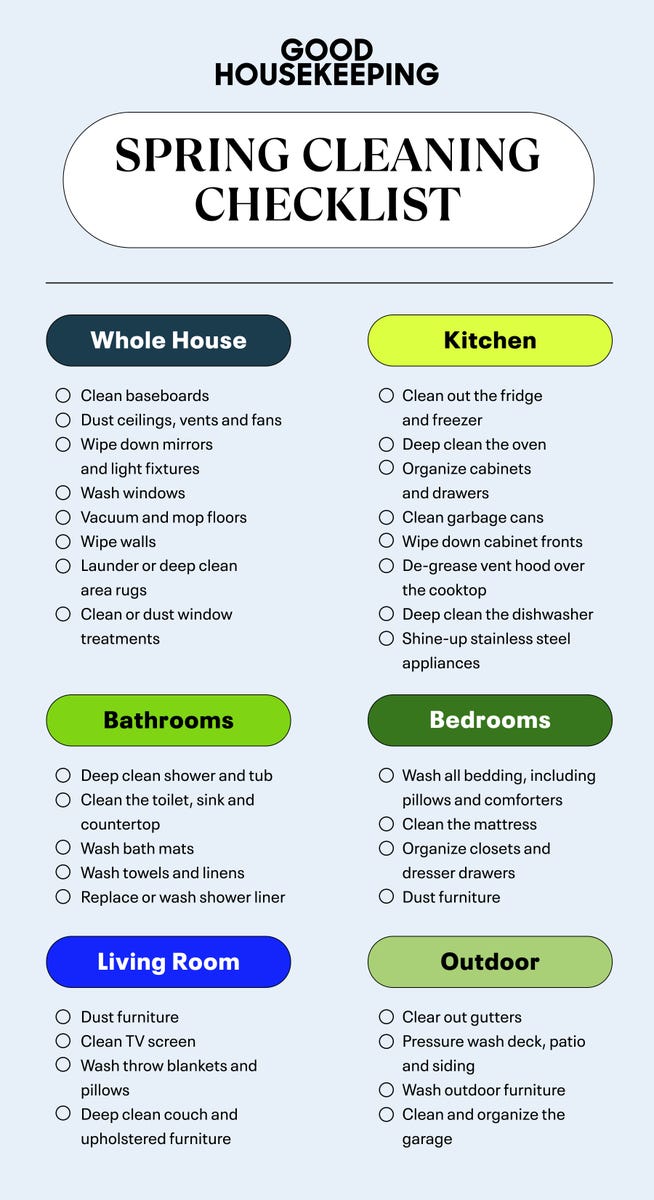
Things to Tidy Up in Every Room:

Prior to thoroughly cleaning each separate space, assess the maintenance needed across the entire home—this includes dust-laden baseboards, grimy walls, and lackluster windows present in all areas. You might opt to organize your checklist based on specific rooms, or begin by addressing these chores sequentially.

  • Clean baseboards: Use the brush attachment on your vacuum for cleaning the baseboards. Should additional cleansing be required, proceed with a damp microfiber cloth using either water or an all-purpose cleanser.
  • Clean dust from ceilings, vents, fans, and light fixtures: Take a gentle cloth slightly moistened with water to clean off the dust.
  • Clean walls : Your walls could be dusty or dirty (imagine food splashes in the kitchen area). Clean the dust using a dry floor mop and remove stubborn dirt with a solution of dish soap and water.
  • Wipe down mirrors : Test out some window cleaner along with a microfiber cloth.
  • Wash windows and window treatments: Prior to applying glass cleaner to your windows, first clean the screens and frames. If allowed by their labels, you can also launder window treatments in the washing machine for cleaning purposes.
  • Vacuum and mop floors: Utilize a vacuum to remove dust, dirt, and debris (employing attachments to address corners and trim work). Employ a damp mop to sanitize the floor surfaces—ensure not to overlook using a cleanser compatible with your type of flooring.

Your Room-by-Room Cleaning Checklists:

Bedrooms

  • Wash all bedding, including pillows and comforters
  • Clean the mattress
  • Arrange closets and tidy up dresser drawers
  • Dust furniture
  • Vacuum under the bed
  • Spot clean or deep clean carpets and rugs

Bathrooms

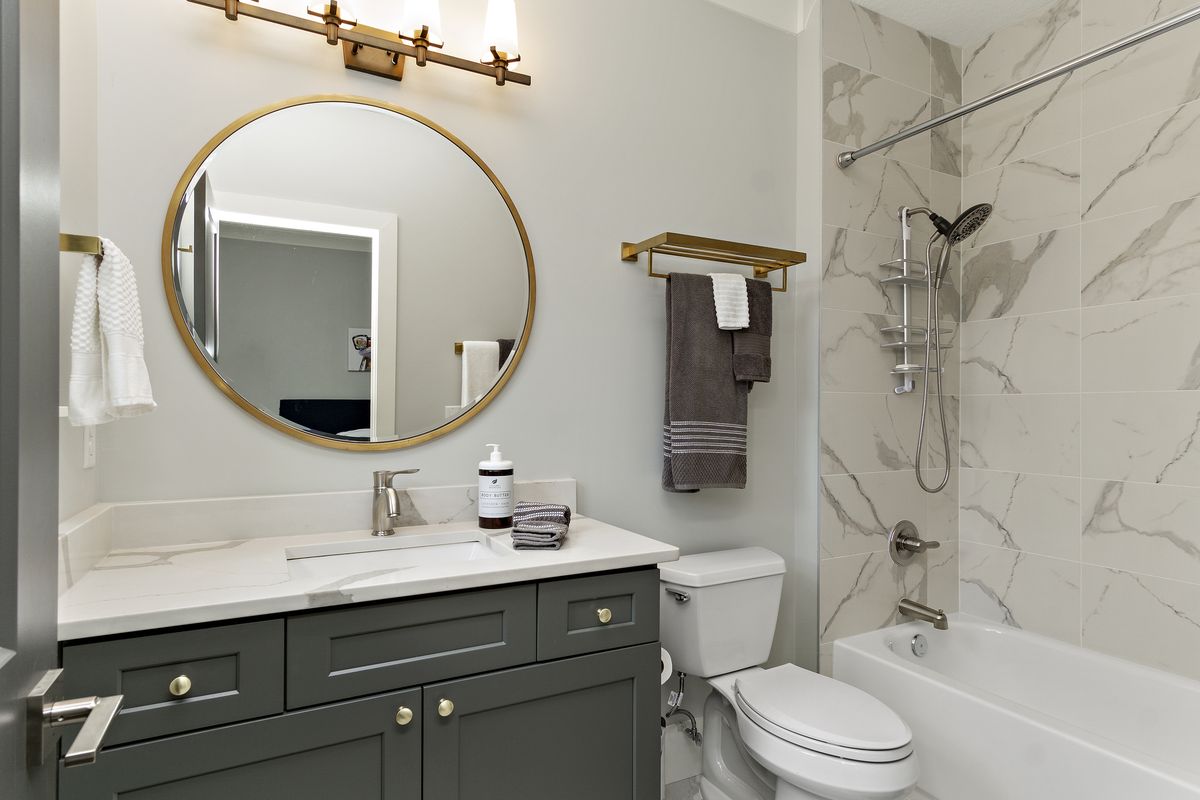
  • Thoroughly clean the shower and tub — make sure you don’t overlook anything glass shower walls and the shower head
  • Clean the toilet , sink and countertop
  • Wash bath mats
  • Wash towels and linens
  • Replace or clean the shower curtain liner (note: you have the option to do so). wash it using the washing machine )

Kitchen

  • Empty out the refrigerator and freezer
  • Deep clean the oven and microwave inside and out
  • Organize cabinets and drawers
  • Clean garbage cans
  • Wipe down cabinet fronts
  • Clean the grease from the range hood above the stove.
  • Deep clean the dishwasher
  • Shine-up stainless-steel appliances

Living Room

  • Dust furniture
  • Clean TV screen
  • Clean your throws blankets and cushions
  • Deep clean couch and upholstered furniture
  • Clean or thoroughly wash area rugs.

Outdoor Spaces

  • Clear out gutters
  • Power wash the deck, patio, and exterior walls.
  • Wash outdoor furniture
  • Tidy up and arrange the garage
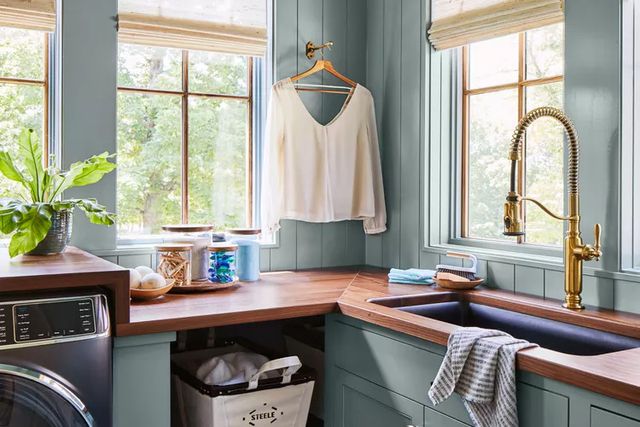
Laundry Room

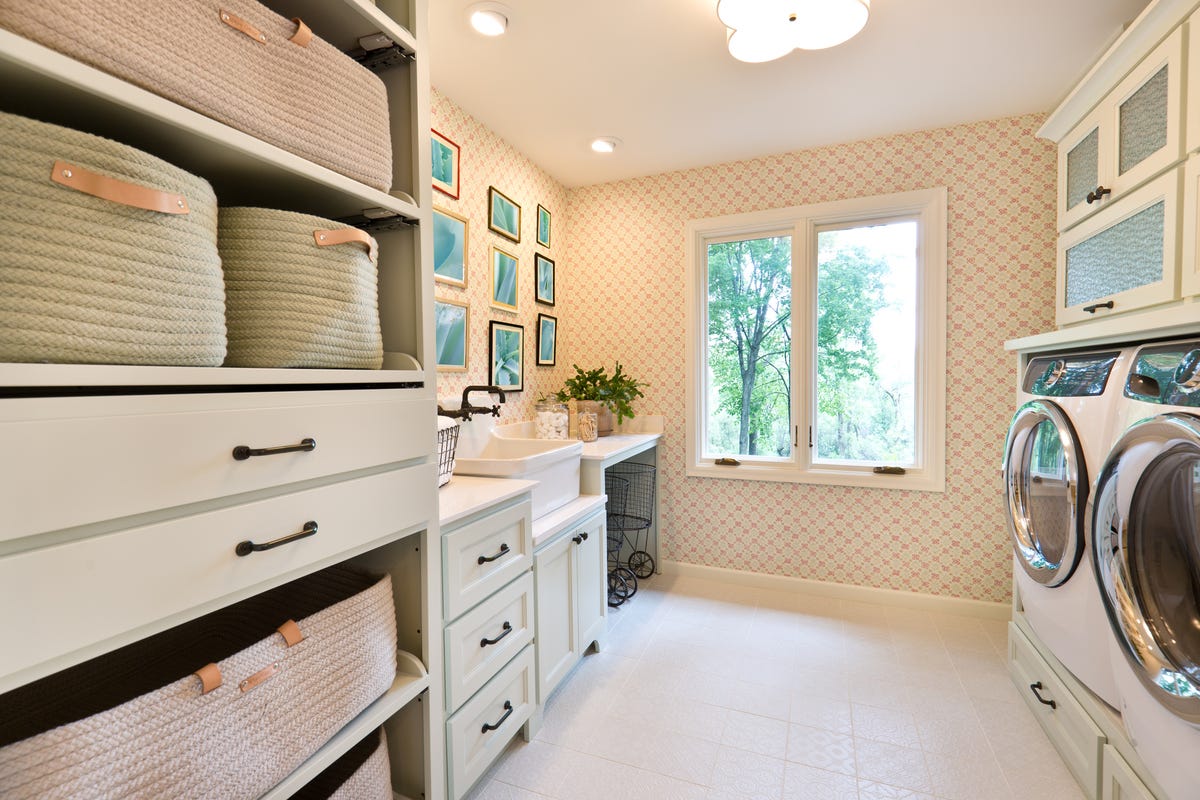
  • Deep clean the washing machine
  • Thoroughly clean the lint filter.
  • Organize laundry supplies
  • Wash or sanitize hampers

9 Simple Secrets of Spotless Homes: Habits of the Tidy Obsessed

Ways to host visitors without frantically tidying up first.

Most of us don't necessarily enjoy cleaning, but everyone loves the feeling of coming home to a clean house. Though Mama's standards of an orderly home may have involved hours dedicated to deep cleaning, today's tidiest of families have found ways to incorporate little habits into their daily lives that make it less of a chore. So what's the secret to keeping things clean ? Consider adding these daily home cleaning habits Add this to your calendar, and soon you'll find yourself effortlessly allowing friends to enter your home unannounced.

Related: Individuals With Immaculate Houses Tackle This Activity First

Tidy Up as You Go

Did you try on two or three outfits before picking your outfit? Use a few pans to prepare breakfast ? Clean it up and put it all away before you move on. If you incorporate this into everything you do throughout your day, there will be a lot less lying around taunting you later.

Wipe Down Surfaces

A quick wipe-down can do wonders. If you clean the surface you've used after each task before walking away, you'll keep counters and glass surfaces clean and ready to go. From swiping your glass shower door to running a towel around your sink after washing the dishes, a short clean can prevent grime build-up and keep your surfaces spotless.

Tackle Laundry Each Day

Avoid overflowing hampers by giving your washer a workout with a load of laundry each day. It's an unavoidable task (keeping your family clothed is kind of necessary), so if you do it on a consistent basis, it won't pile up and monopolize your Sunday.

Categorize Paper

Mail, bills, notes from school, take-out menus—paper piles up quickly. Keep your counters and office clutter-free by establishing designated places for paper in your home. Make a drawer for takeout menus and coupons. Create folders for bills, school memos, and other important printouts. Put these items in their place as soon as you get them.

Donate Regularly

Stuff is wreaking havoc in homes across the South. You probably don't need 15 water bottles for a family of 4, and it's likely time to get rid of the shirt your son grew out of months ago. It's much easier to keep a home organized when there is less clutter in it. Treasure items with meaning, but don't collect unnecessary junk. Instead of wasting time trying to find spots for things you don't need, take a moment and purge some of the things you don't need, use, or enjoy regularly.

Keep The Kitchen Spotless

Weekly Fridge Cleaning

Noticing some frightening goo beneath your groceries at the edge of your fridge? You might be doing something wrong. It’s time to clean out your refrigerator. weekly refresh . Not only will cleaning your fridge It will not only help you maintain cleanliness but also assist you in making an accurate list of items needed for your next trip to the store.

Wipe Down After Cooking

Fight the temptation to switch on the television and settle onto your sofa following your evening meal. The more time your cookware spends sitting around, the tougher it becomes to scrub clean. Even though today has felt never-ending, take a moment soon after dining to swiftly wash up your utensils and plates, then slide them into the dishwasher. Before you realize it, your basin will be empty again.

Keep Your Bedroom Organized

Make The Bed

When the disarray of the coming day feels overwhelming, remember this: You have control over your bed. Just dedicating a few moments each morning to make your bed can be a simple yet effective way to start off successfully. Whether it’s simply tucking in the sheets or arranging the duvet neatly, making your bed assists you in beginning your day with a feeling of productivity and organization that will probably continue into whatever activity follows.

Straighten Up Before Bedtime

Take a brief look around your frequently used spaces before turning in for the night. Stow away any toys, footwear, or blankets, and ensure that backpacks and bags are prepared for tomorrow. You’ll be glad you did so come morning time.

Control Clutter

Clear Surfaces

If you keep the surfaces of your home clear of clutter, you’ll find it easier to clean as well as more visually appealing. Don’t unload the day’s junk onto the dining room table or kitchen counter Spend a few minutes upon arriving home to store your lunch boxes, jackets, and mail properly.

Utilize The Appropriate Organizational Tools

There are numerous organizing solutions available, making it simple to manage your possessions effectively. Maintain order using over-the-door hooks, back-of-door organizers, and under-bed storage bags to keep similar items tidily stowed away.

Keep Everything In Its Own Space

When you allocate specific spots for things you use every day, finding them becomes simpler whenever needed, and they won't overcrowd your counters. Set up a container for letters, an envelope for consent forms, a spot for backpacks and footwear, along with a compartment or bin dedicated to charging cables, car keys, and eyewear.

Set a Routine

A weekly cleaning schedule It's crucial, but you should also develop a comprehensive yearly plan for periodic thorough cleans. Include tasks such as purging closets And clean windows regularly according to your schedule instead of doing one large cleaning session every spring.

Start incorporating these clean home habits Add bits and pieces to your routine gradually, and before you know it, you’ll have a neat and organized home all day long.

Read the initial article on Southern Living

How to Clean Your Air Fryer in Minutes Without Scrubbing

Like me, you probably find that one of the most indispensable gadgets in your kitchen is the air fryer.

I really enjoy how it eases the burden of hands-on cooking when things get hectic. Just throw in a joint of roasted meat, or some lamb cutlets, maybe a quiche, or even some roasted vegetables.

However, tackling the cleanup process isn’t quite as straightforward.

We sought advice from specialists to outline the simplest techniques for cleaning your air fryer without resorting to scrubbing.

A brief reminder about food safety

Senaka Ranadheera, a food scientist and associate professor at the University of Melbourne, notes that effectively cleansing kitchen gadgets prevents the dissemination of detrimental microbes that may lead to foodborne illnesses.

He mentions that cleaning assists in eliminating food residue from kitchen devices.

Harmful disease-causing microbes and bacteria that lead to food spoiling may proliferate otherwise.

The soaking method

In her capacity as a kitchen specialist for Consumer Group Choice, Fiona Mair has undertaken the cleaning of numerous varieties of air fryers.

"As with numerous countertop devices available, cleaning an air fryer can be somewhat troublesome due to its components," she explains.

Even though minimal oil is used, grease and fats tend to build up within the air fryer’s interior, making cleaning rather challenging once it accumulates.

Kristen Menard's instructional video on cleaning an air fryer garnered over eight million views last year.

As soon as she finishes cooking, the UK-based content creator cleans the air fryer basket using dish soap, baking soda, and hot water.

She lets it sit for 5 minutes, followed by rinsing with water and wiping it clean.

She mentions using a wet cloth for the components (after they have cooled down) and a multipurpose spray for the exterior.

Fiona Mair from CHOICE also suggests this approach, however, she mentions that you could choose to use vinegar rather than baking soda to eliminate oil and sticky residues.

Begin by removing any excess oil that has gathered.

If you’ve prepared marinated chicken or similar dishes that tend to stick or bake onto the surface, simply let them sit in warm soapy water.

I'd likely opt for either the bicarbonate of soda or vinegar... mixed with water.

So once they've soaked for a bit, getting rid of them becomes quite simple.

The heating-up method

Ms Mair suggests that you can employ a comparable technique to cleanse both the basket and the interior of the device.

Begin by adding warm water, detergent, and eitherbicarbonate of soda or vinegar into the drawer. Then, put it back inside the air fryer.

Simply set the temperature to around 100 degrees Celsius and leave it for 5 to 10 minutes, allowing the steam to cleanse the inside of your air fryer.

This will simply help eliminate any leftover residues and reduce some of the smells from built-up... particularly when you cook meat and marinated dishes.

She mentions that you can utilize a 'gentle bristle brush' if you have to clean the grooves and corners of the basket before giving it a thorough rinsing.

Ways to clean internal components

It is advised to exercise caution during this stage of the cleaning procedure.

Ms Mair advises that when you're cleaning near the heating element, it's preferable to ensure it has fully cooled down first.

Detach the power cord, then simply use a microfiber cloth with some lukewarm water or soapy lukewarm water. Wipe around the component as well as inside the compartment.

I'd suggest using a small paintbrush or similar tool to carefully clean the difficult-to-reach areas of the component.

Stay away from the dishwasher or dishwasher tablets.

This is strongly discouraged for several reasons.

According to Choice, using dishwasher tablets or detergents to cleanse your air fryer might degrade the non-stick surface and result in exposure to harmful substances.

Ms Mair explains that since dishwasher detergents are rather strong, repeatedly cleaning the baskets and drawers inside the dishwasher can gradually diminish the non-stick coating over time.

Thus, it's not effective now, and during the heating process, it might emit certain toxic substances.

Simply refrain from putting it in the dishwasher, and if you consistently clean it after every use, this will prolong the lifespan of your air fryer and make it operate more efficiently for you.

Ms Mair advises against using baking trays or parchment paper in an attempt to reduce cleanup afterward.

Every air fryer works by circulating hot air, which is precisely why the grill plate has holes—it enables the heated air to flow upwards and underneath your food.

Steer clear of items that obstruct this process, as even baking paper can occasionally prevent heat from reaching from below.